Step-by-step guide on how to install and use Emovid Extensions
Record or drop in video messages directly inside your email inbox-no switching apps, no
copy-pasting links.
 Gmail Extension
 Outlook Extension
Section 1: How to Install “Emovid Gmail Extension”
Open the Extension Page
- Go to the Emovid Gmail Extension page on the Chrome Web Store using this link.
- This extension is supported on the following browsers:
- Google Chrome
- Microsoft Edge
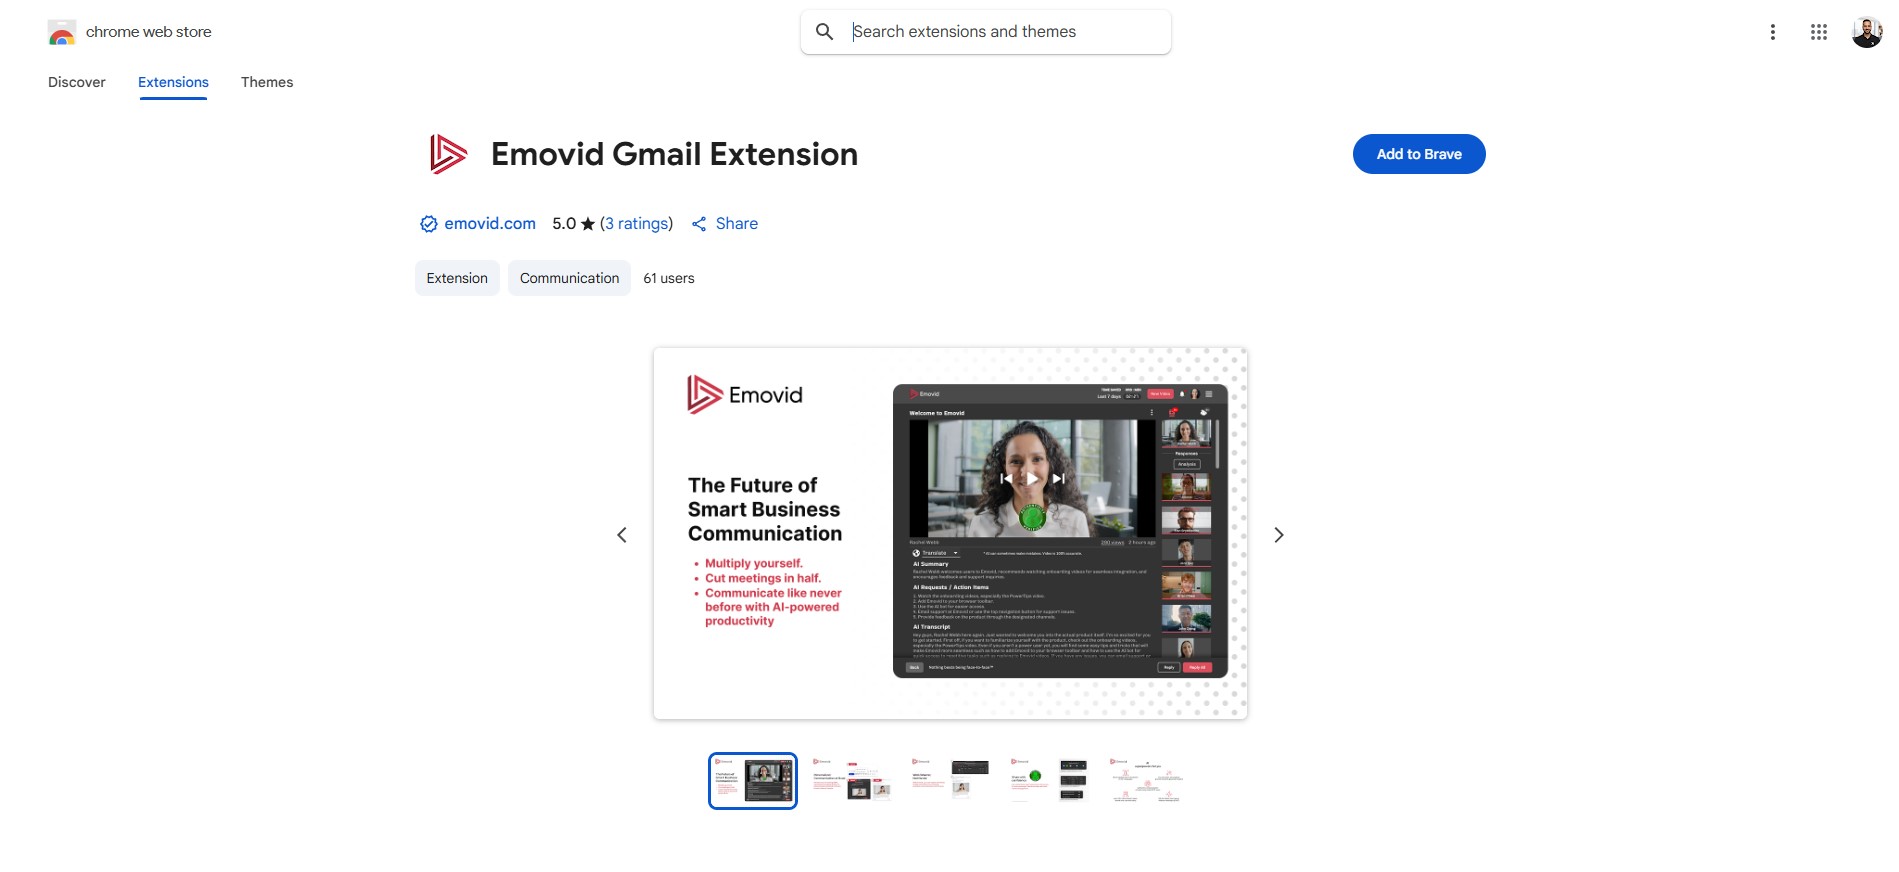
Add the Extension to Your Browser
- If you’re using Google Chrome, click “Add to Chrome”
- If you’re using Microsoft Edge, click “Get”
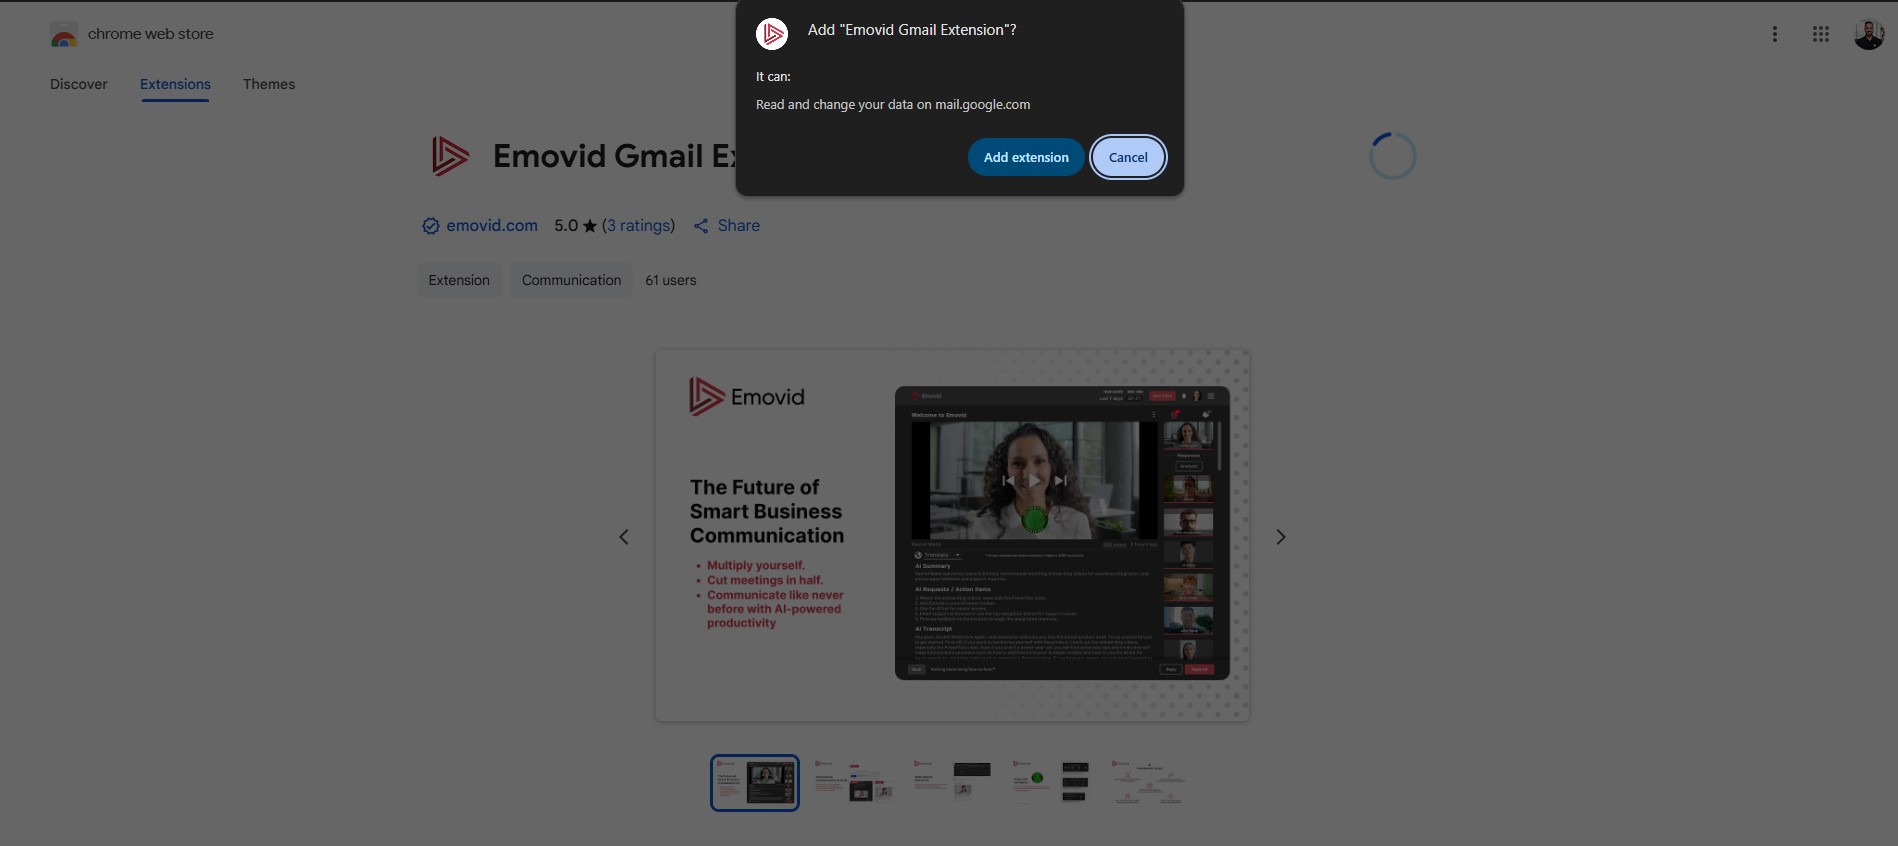
Confirm Installation
- When prompted, click “Add Extension” to confirm the installation.
Section 2: Accessing the Emovid Gmail Extension
After installing the extension, it will automatically appear in Gmail. If you don’t see it immediately, try refreshing the Gmail page.
Open Gmail and Compose or Reply to an Email
- Go to Gmail and either compose a new email or reply to an existing thread.
- The Emovid Gmail Extension icon will appear next to your formatting tools in the email toolbar.
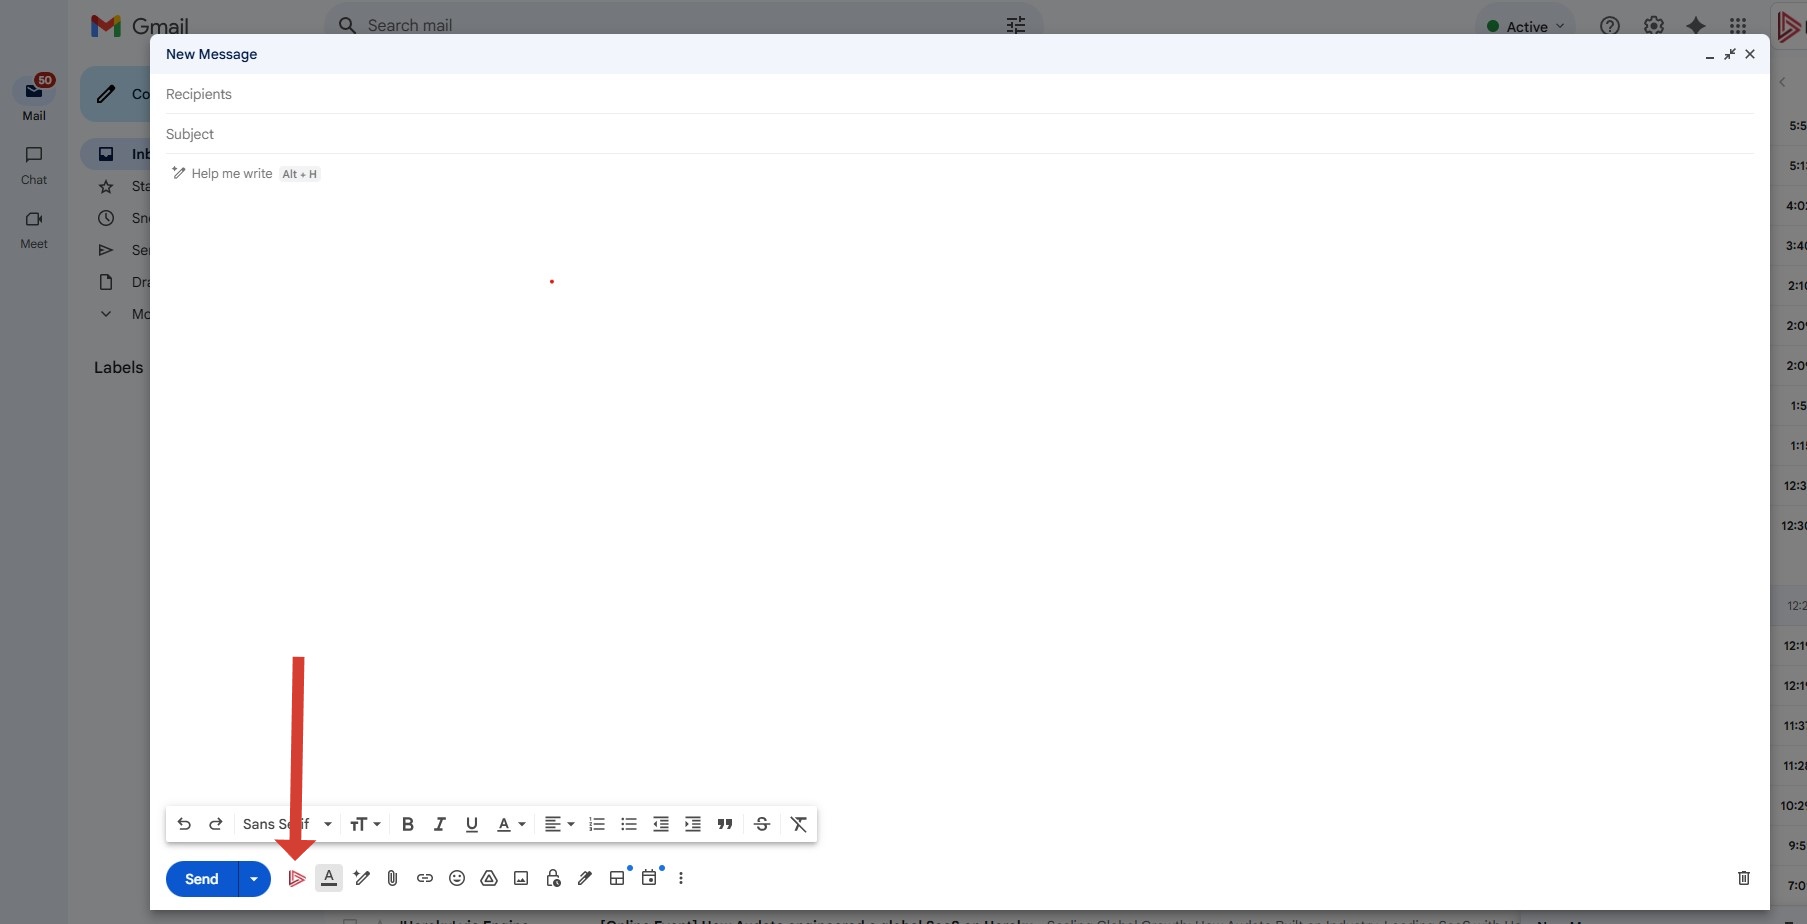
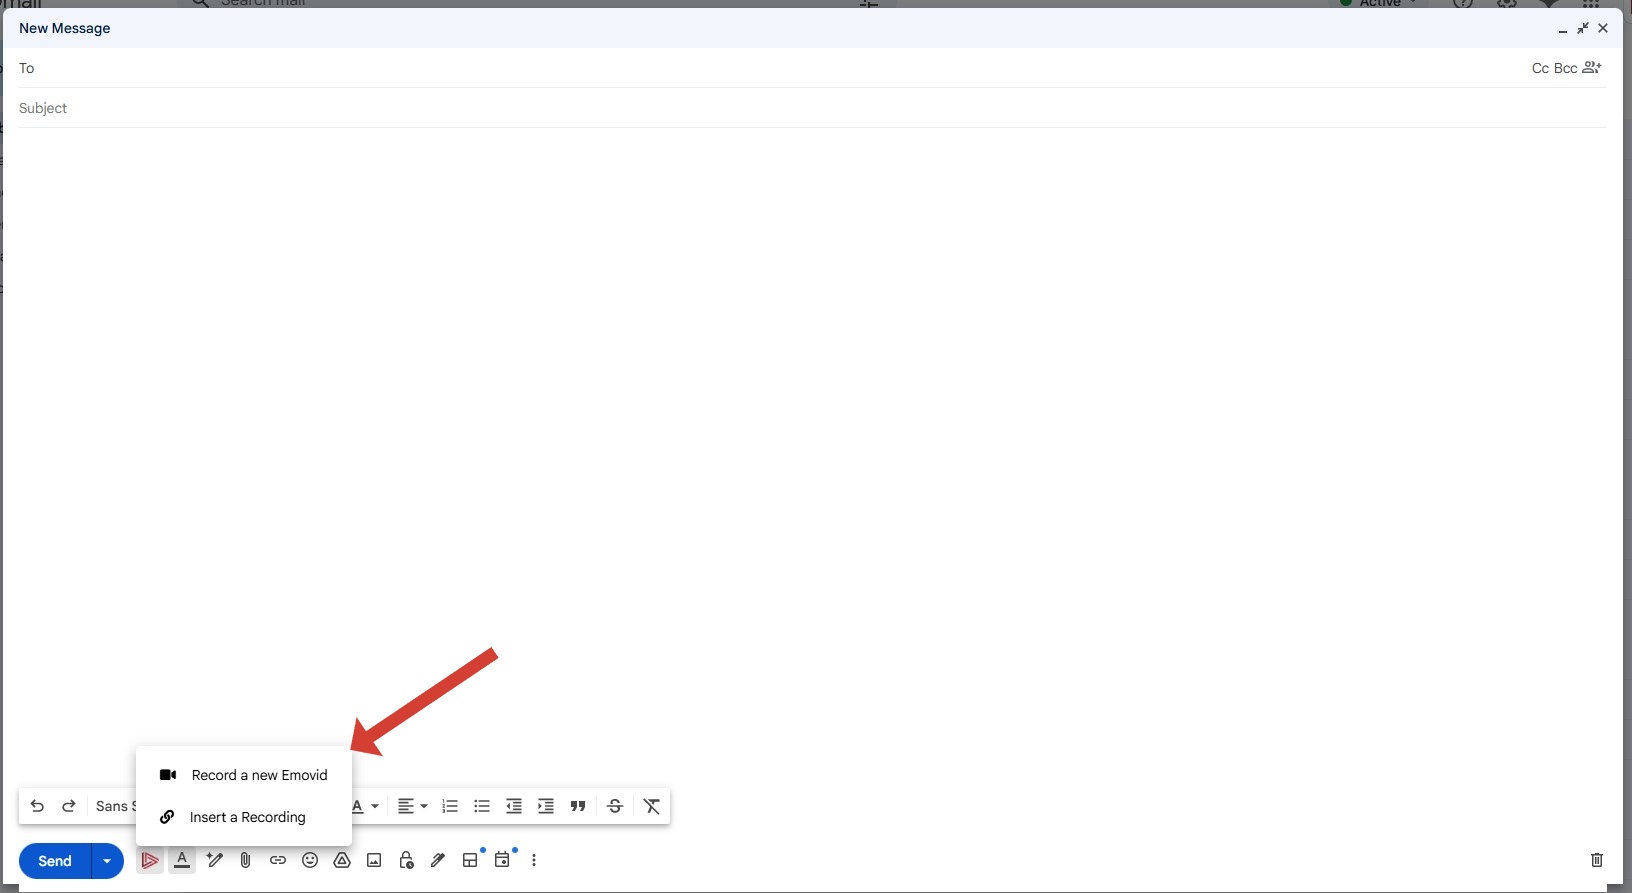
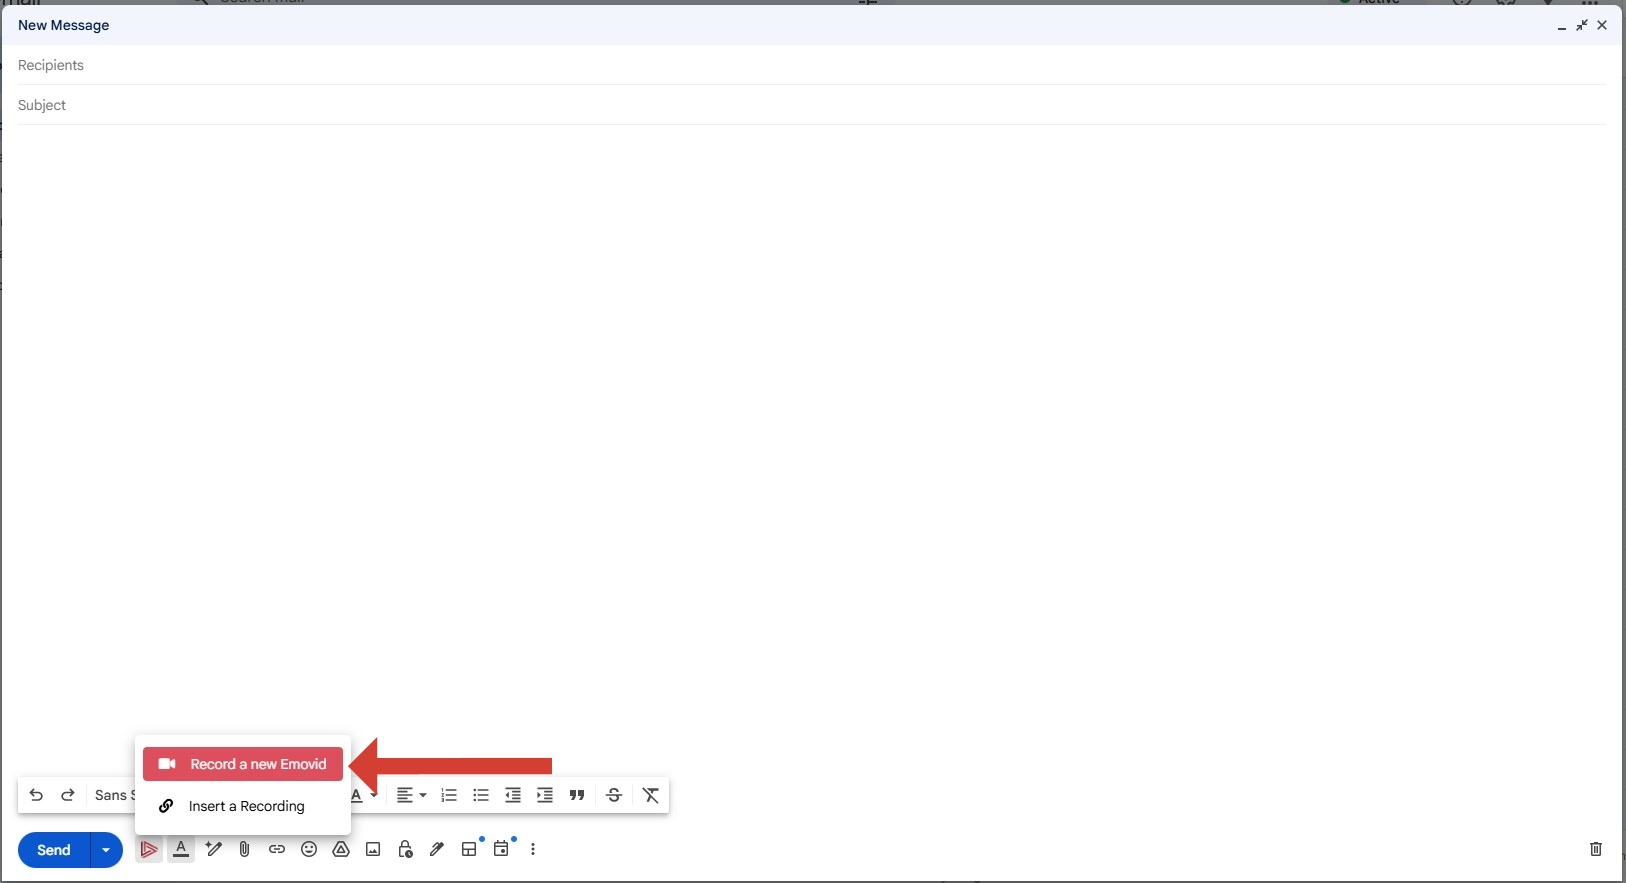
Click on the Emovid Extension Icon
Clicking the extension icon will show you two options:
- Record a New Emovid — Record and embed a video directly from our browser.
- Insert a Recording — Log in to your Emovid account, access your created videos, and insert them into your email.
Section 3: Using the Emovid Gmail Extension
Demo: Insert a Recording
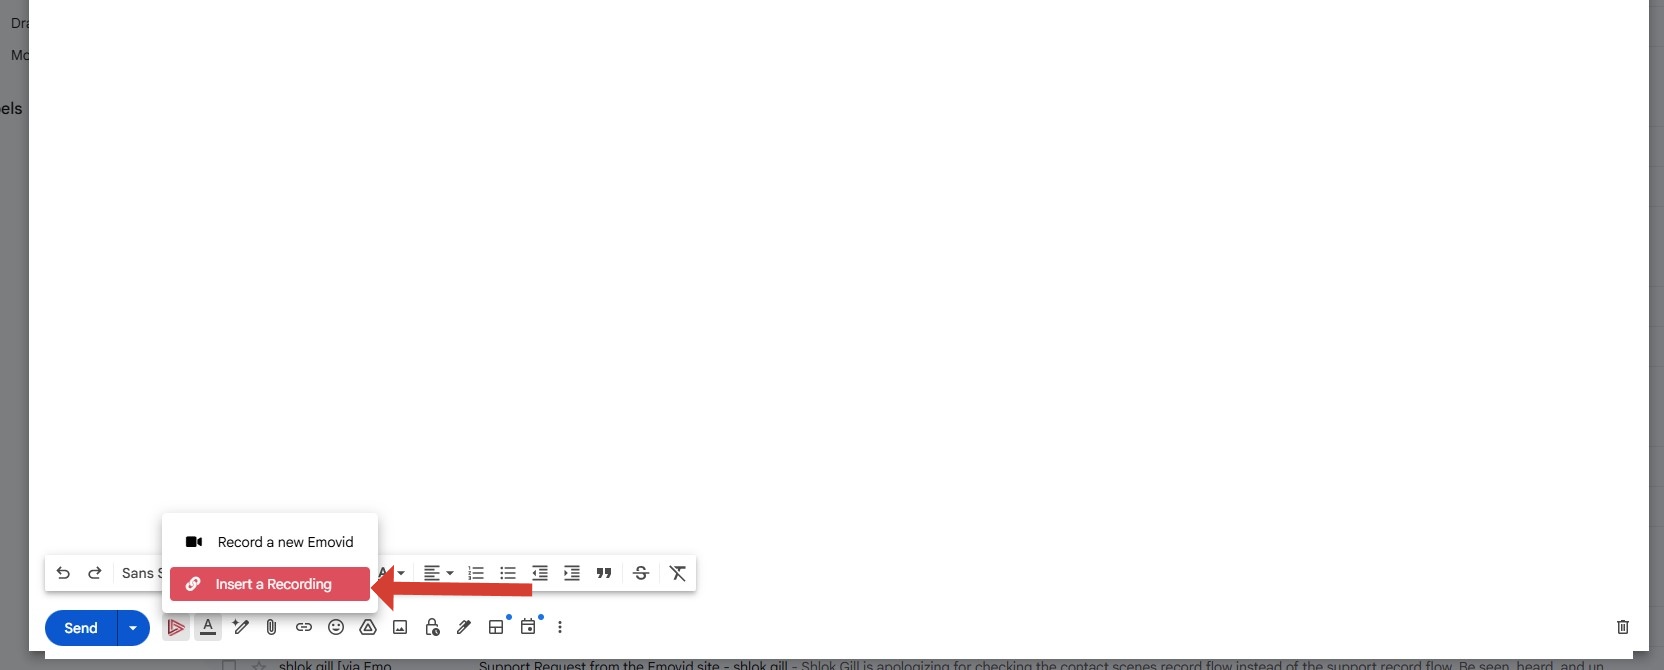
Open the Extension
- In Gmail, click the Emovid icon in the email toolbar.
- Select “Insert a Recording” from the menu.
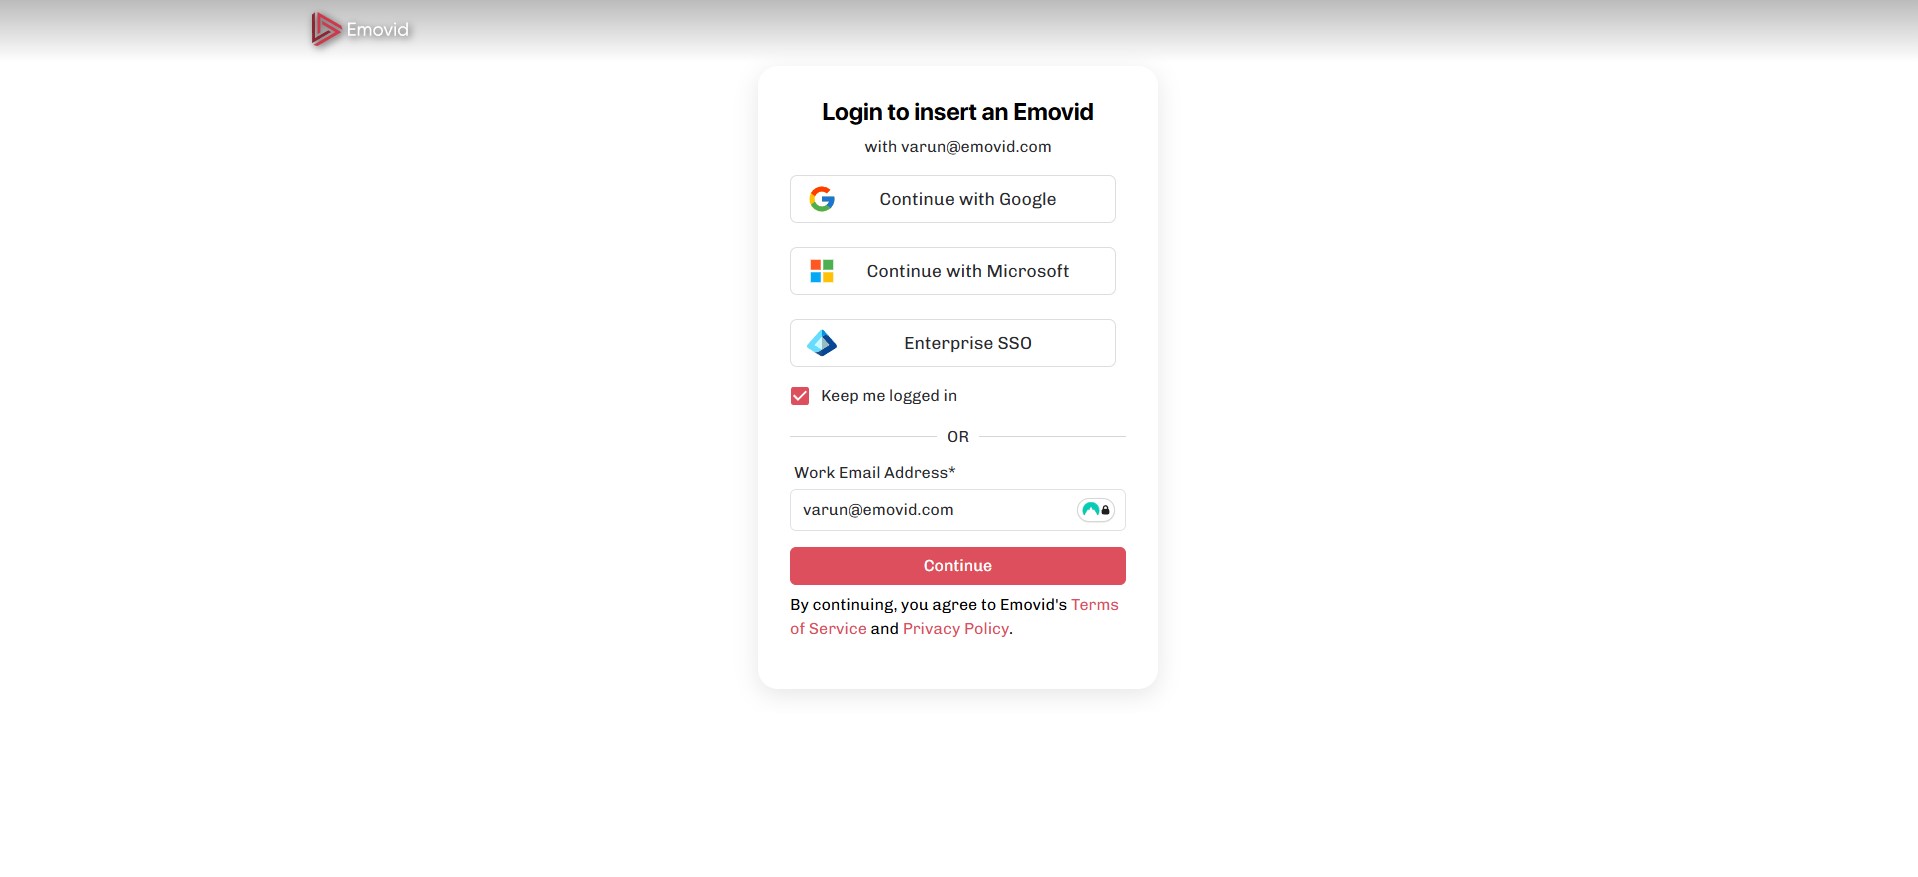
Log in to Emovid
- A login window will appear. Sign in using the Gmail account you’re currently logged into.
- Important: Ensure this Gmail account is already registered with Emovid. If it’s not, you’ll need to register it first at www.emovid.com
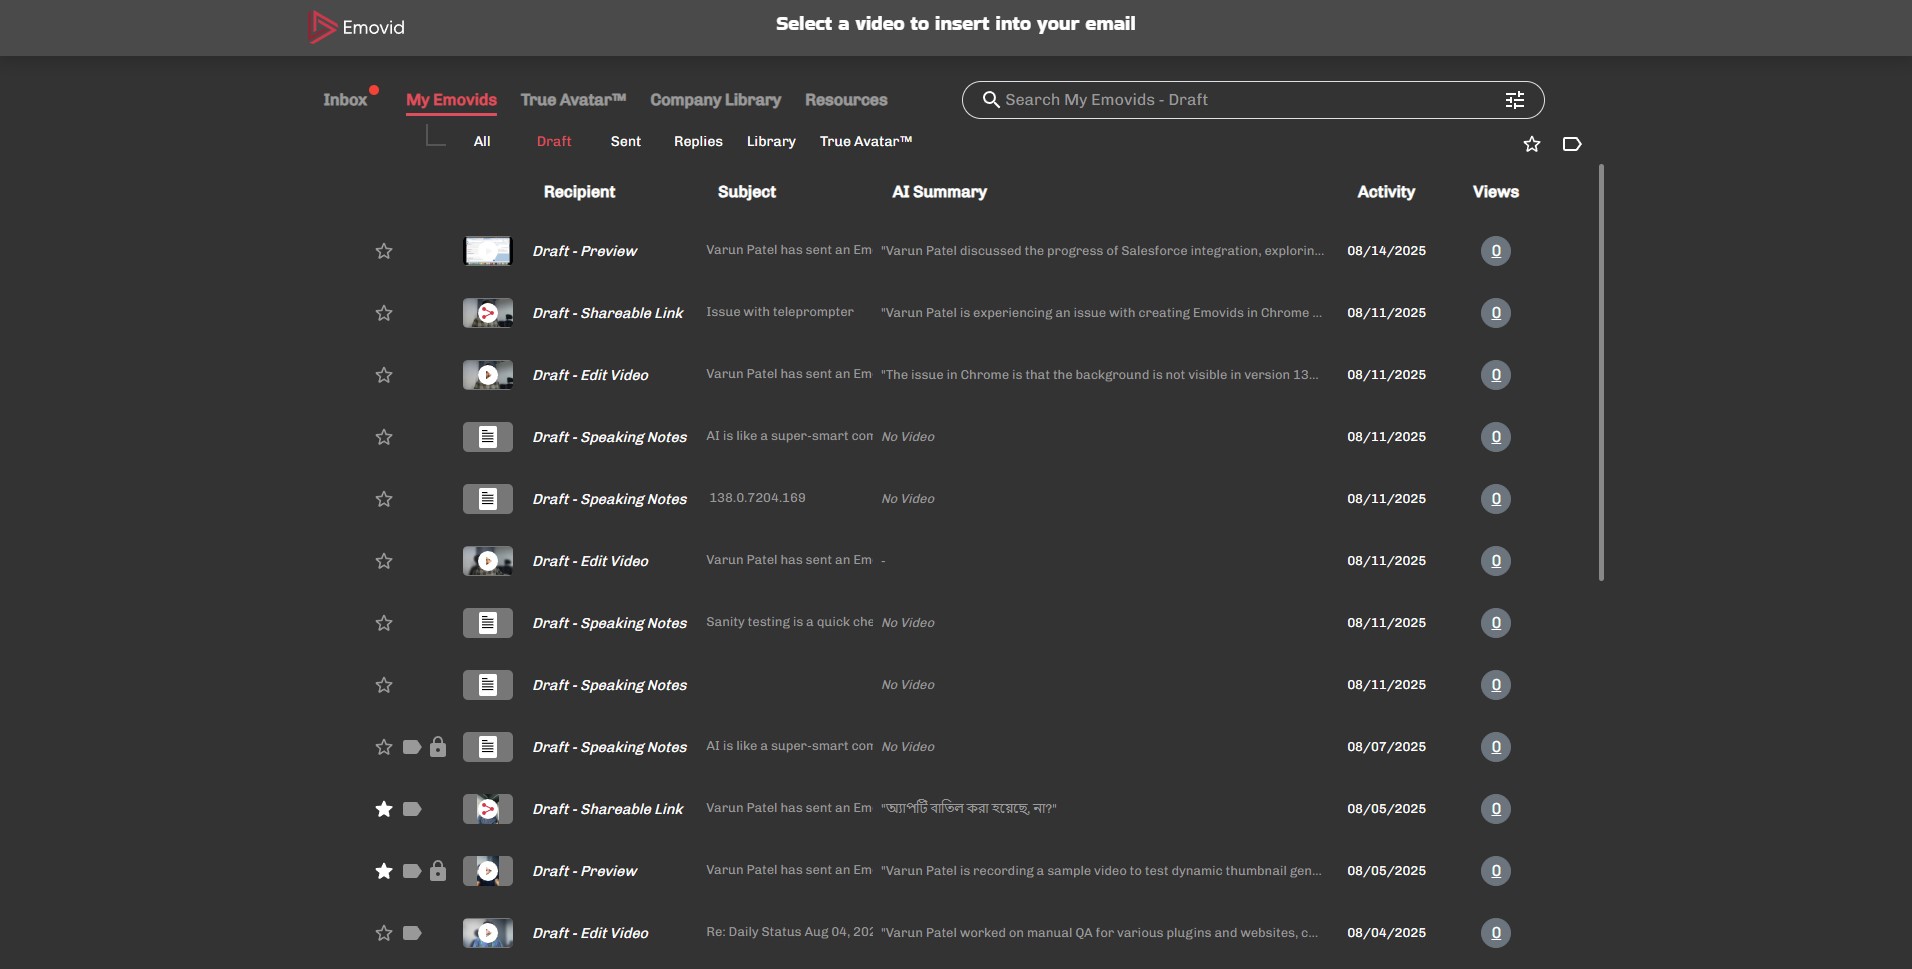
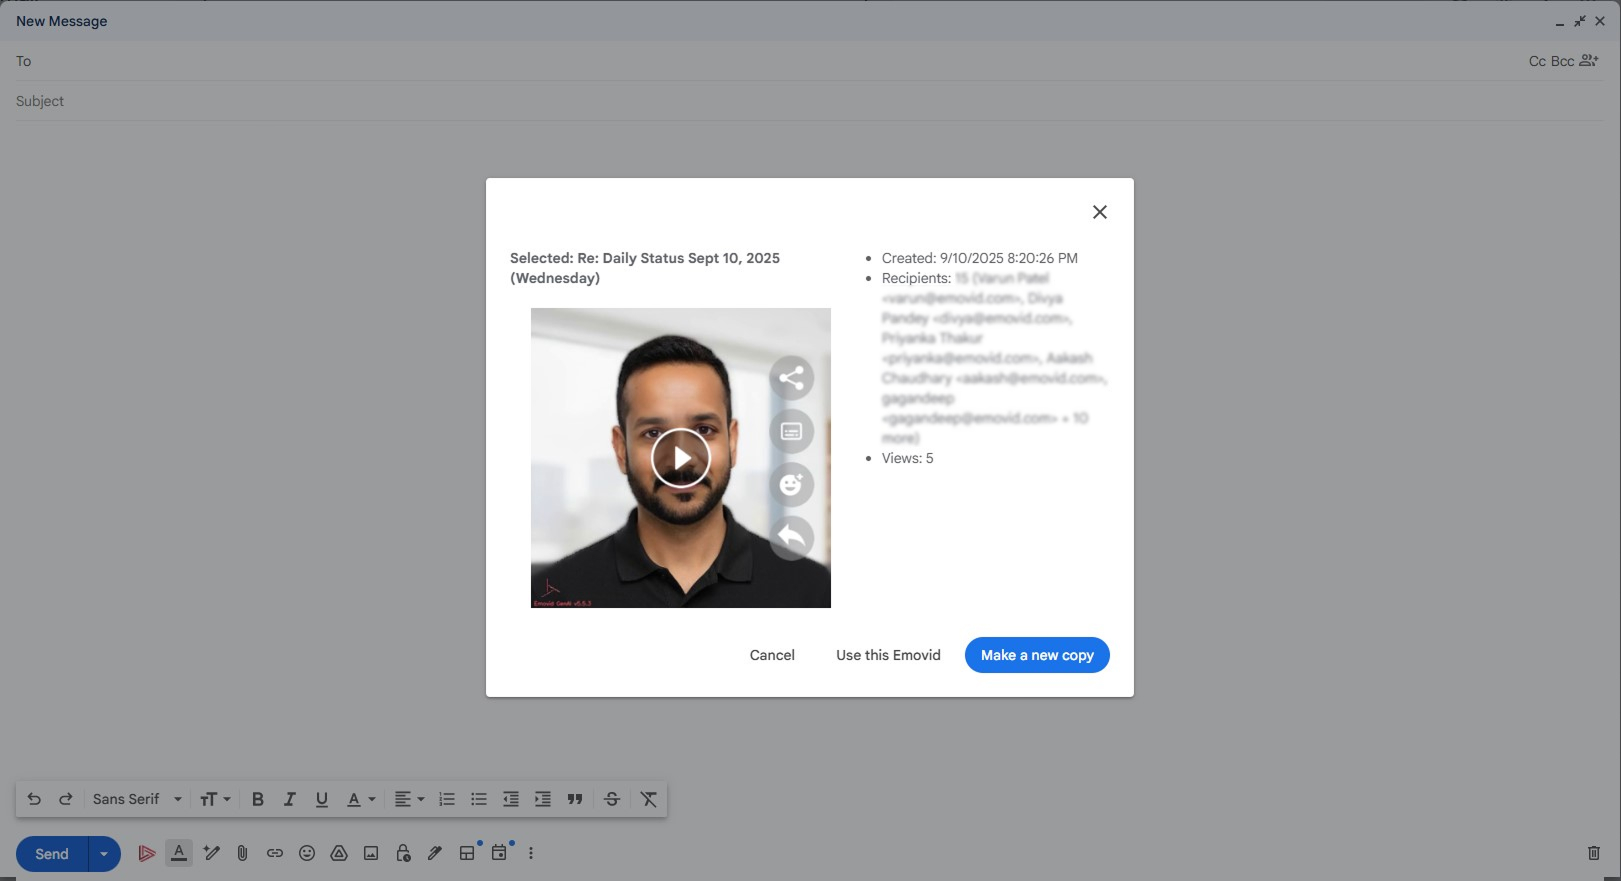
Choose a Video
- Browse and select one of your previously recorded videos.
Embed the Video
Choose whether to embed the selected Emovid as-is or create a copy before embedding.
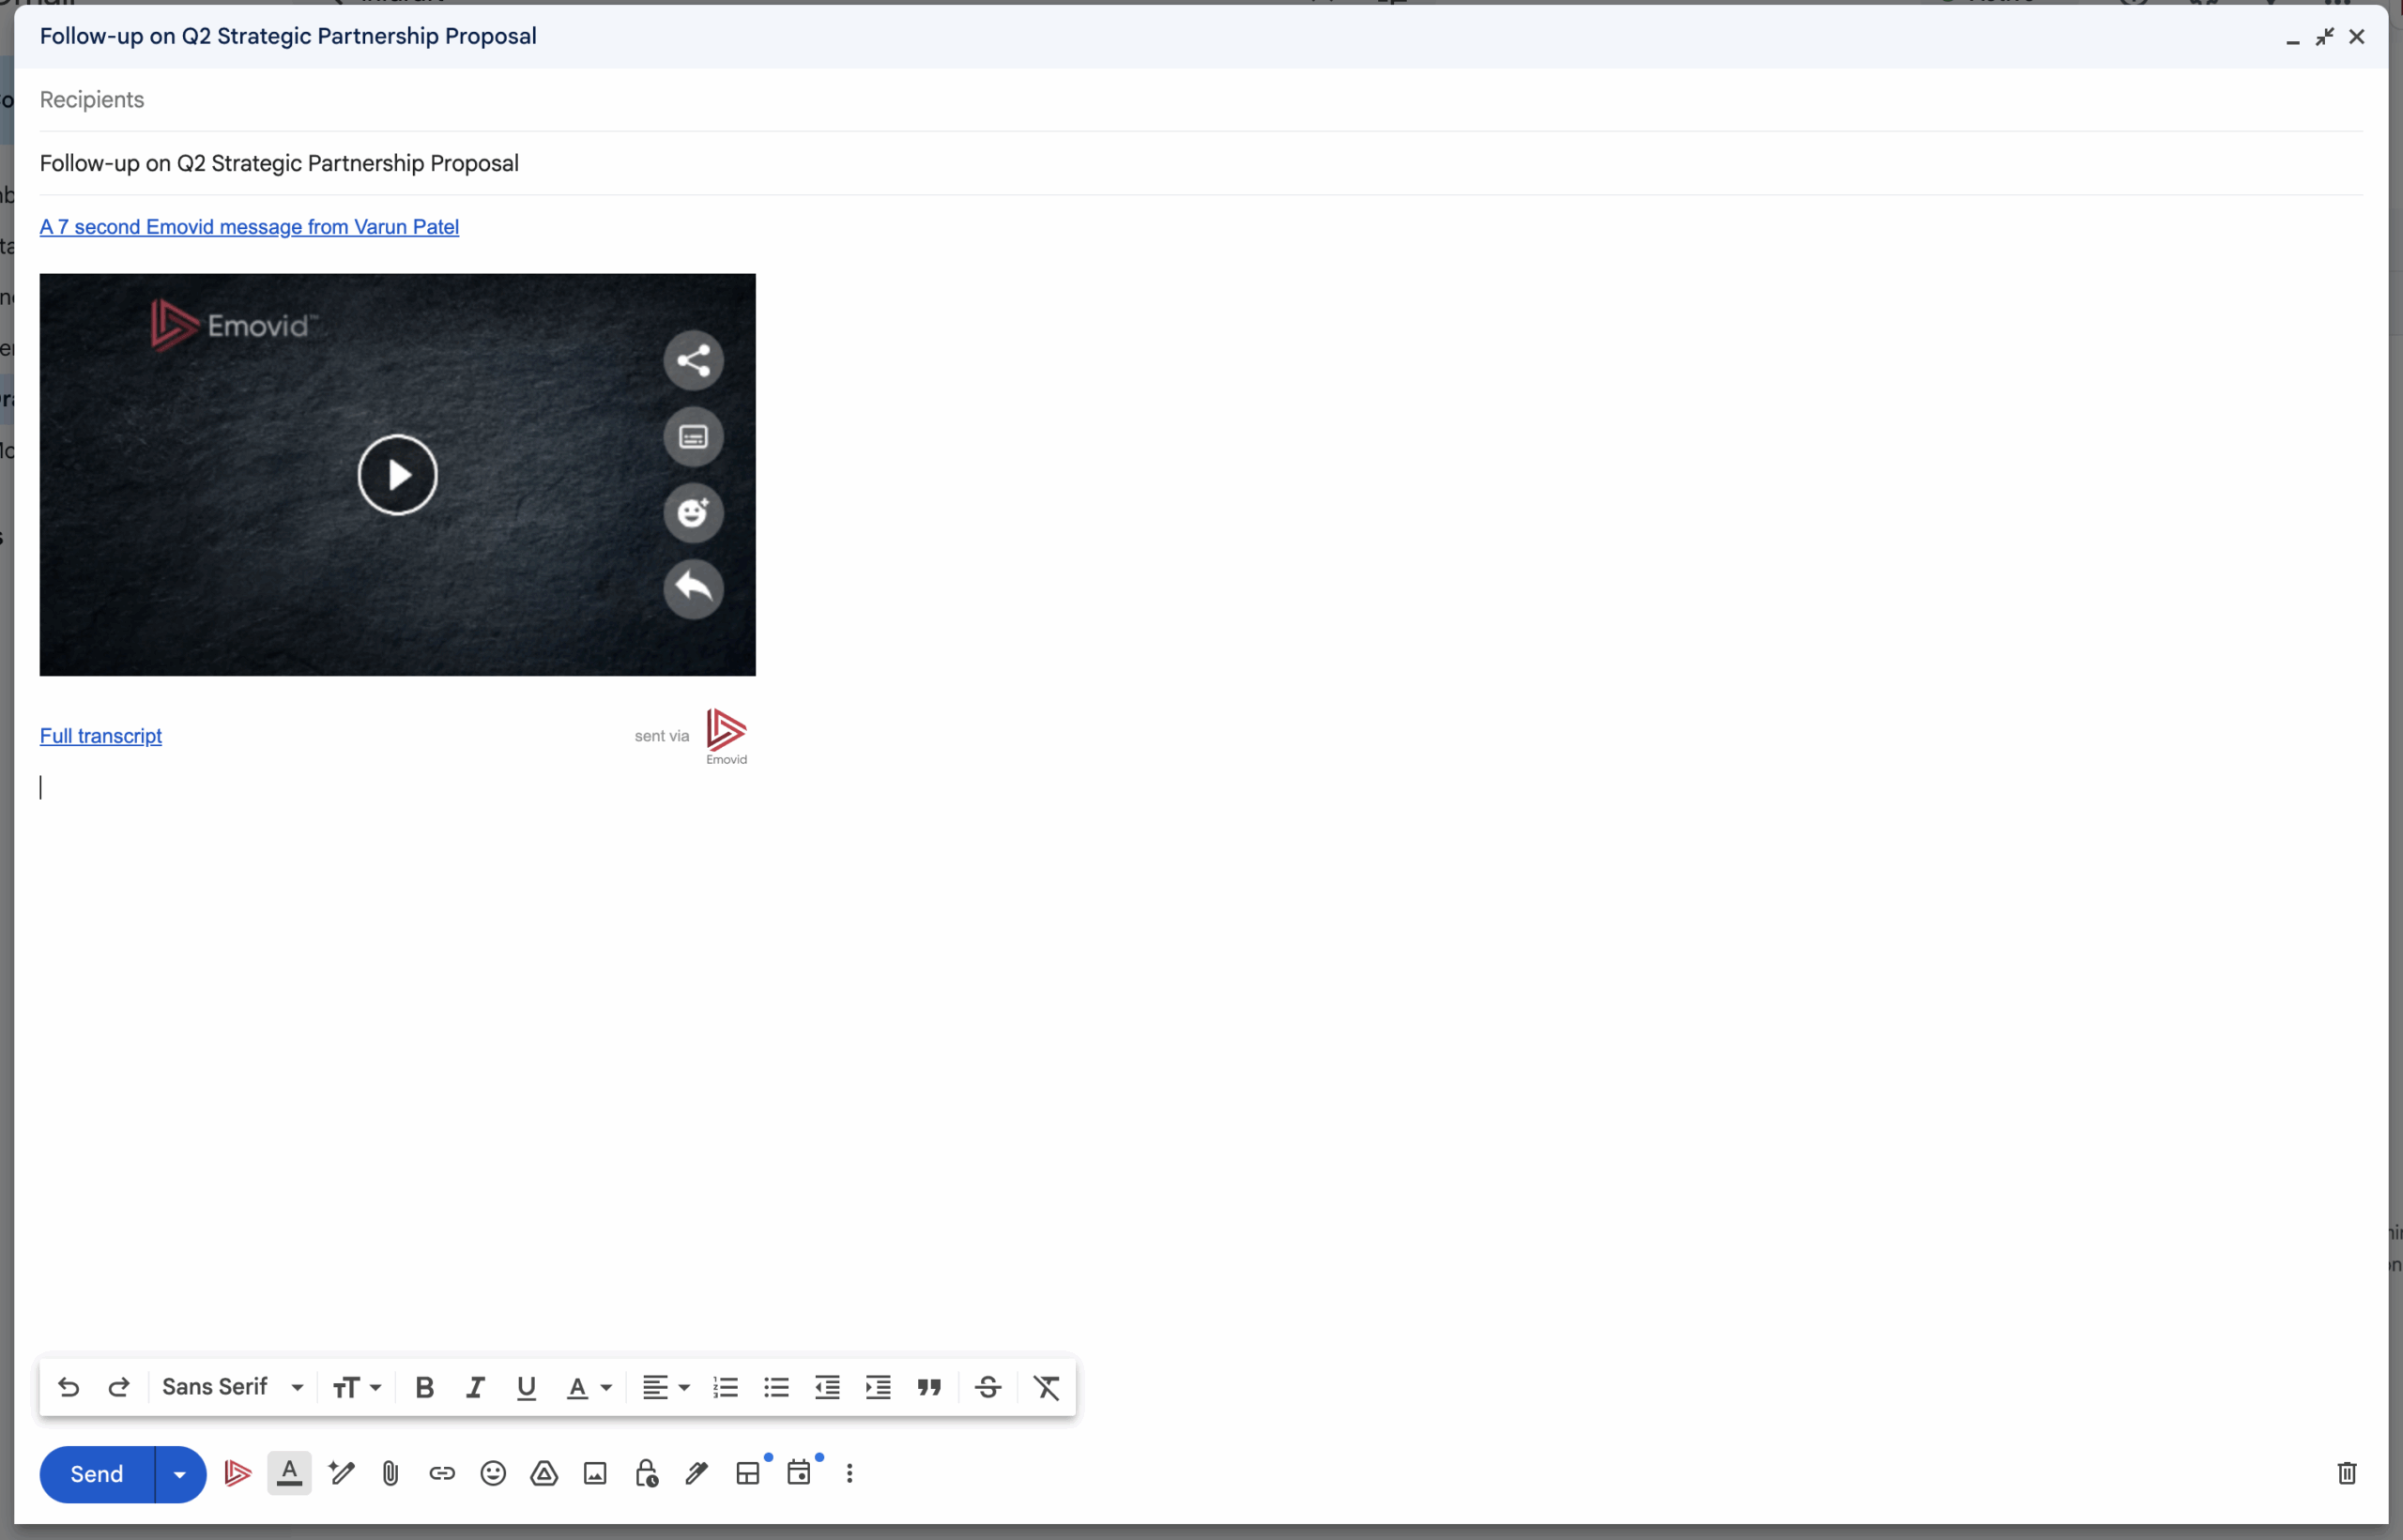
Send the Email
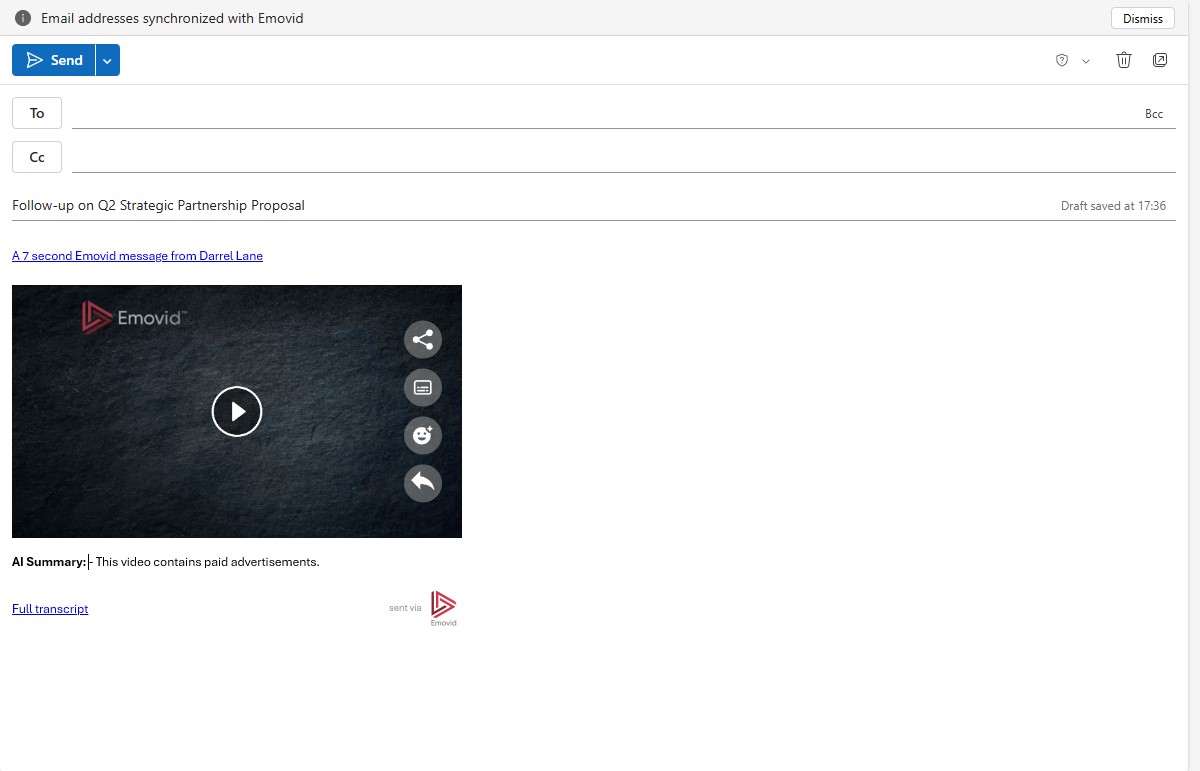
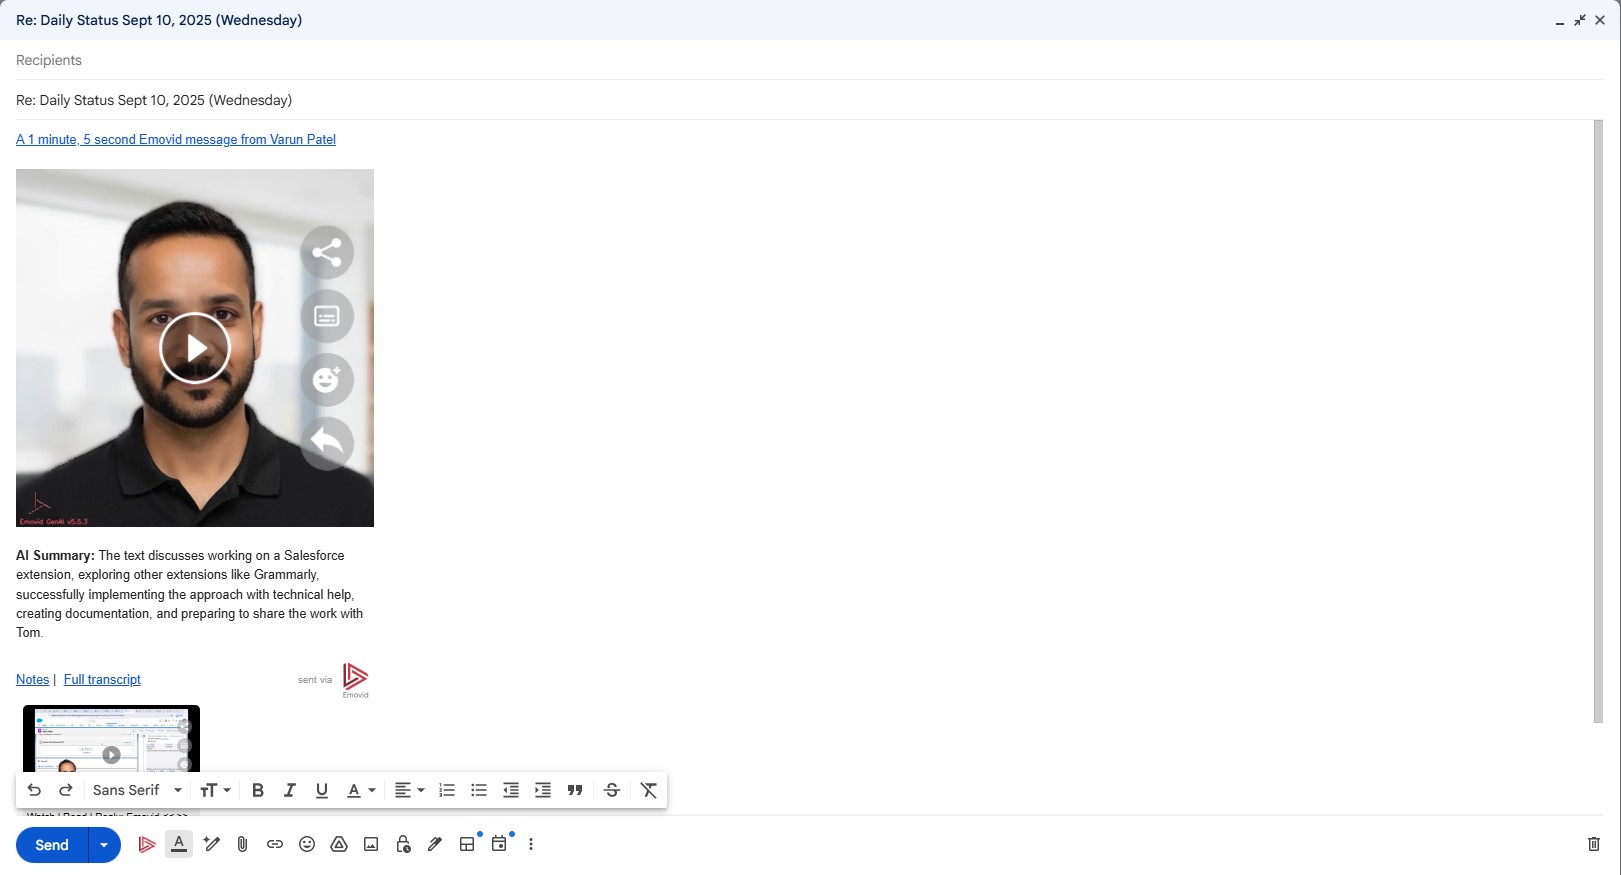
After embedding the video, your email will include:
- A video thumbnail preview
- An A1-generated summary
- A link to the full video
- A transcript of the video
To send the email, simply click the Send button in the Gmail toolbar.
Demo: Record a New Video
Open the Extension
- In Gmail, click the Emovid icon and select “Record a New Video”
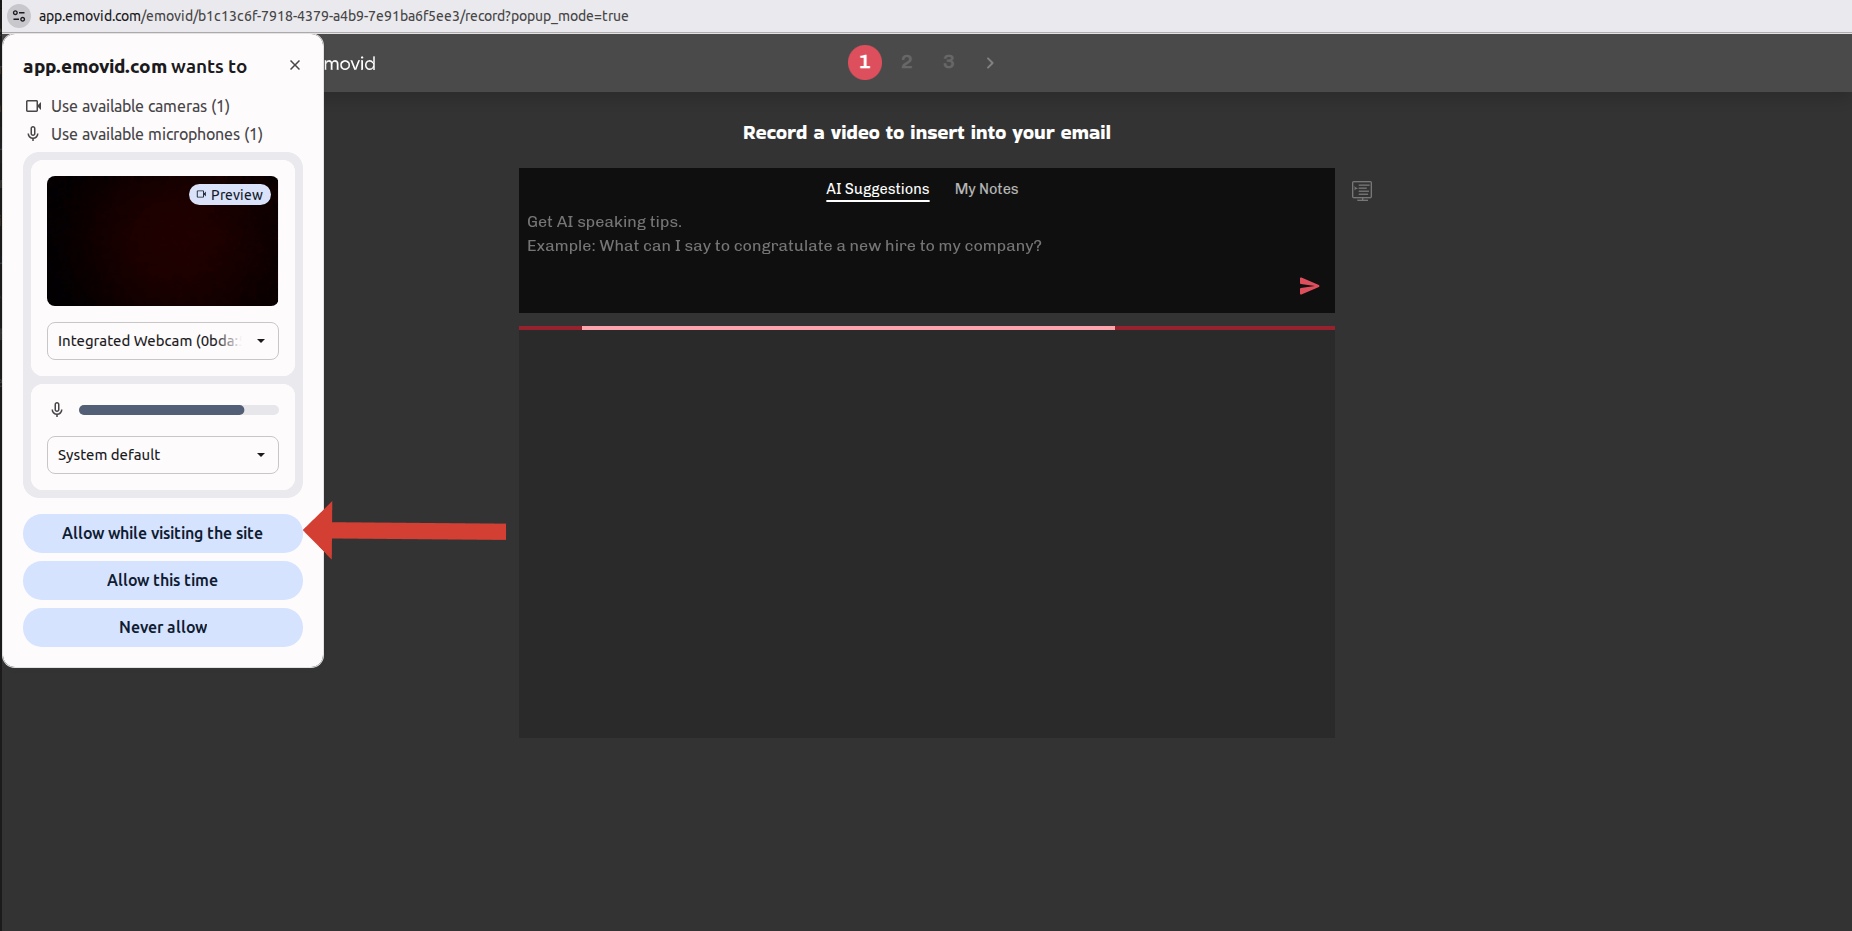
Grant Permissions
- When prompted, allow access to your camera and microphone.
Record & Embed
- Record your Emovid, then click “Embed Emovid” on the final step.
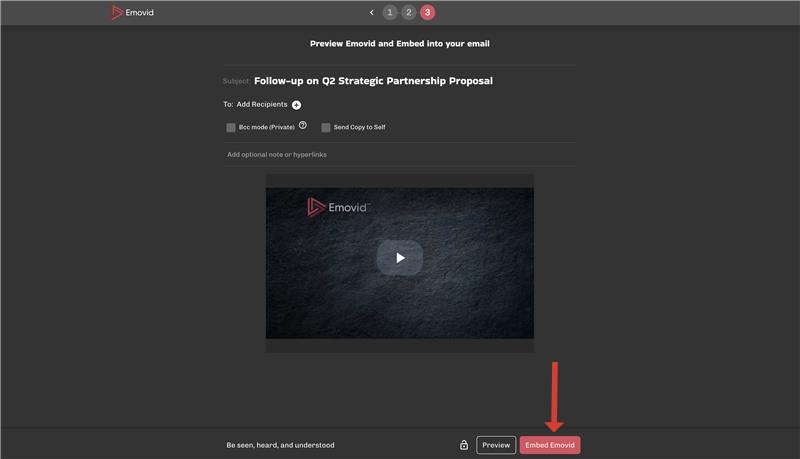
Send the Email
After embedding the video, your email will include:
- A video thumbnail preview
- An A1-generated summary
- A link to the full video
- A transcript of the video
To send the email, simply click the Send button in the Gmail toolbar.
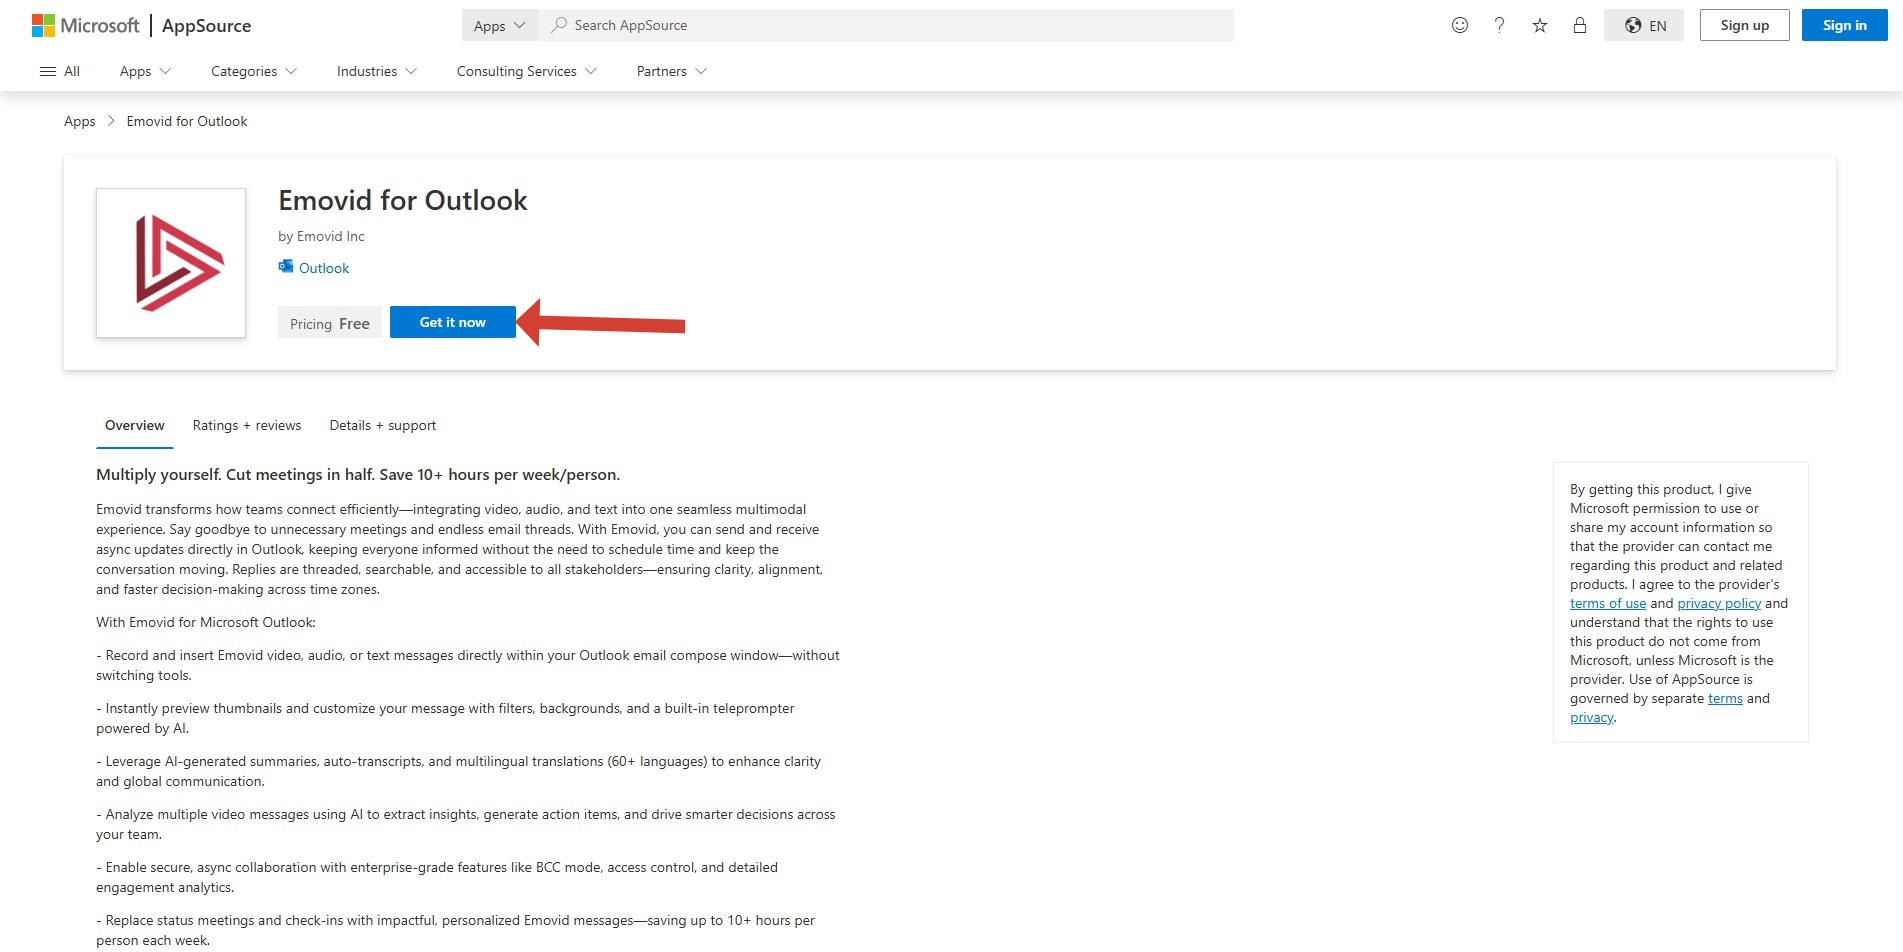
Section 1: How to Install “Emovid for Outlook”
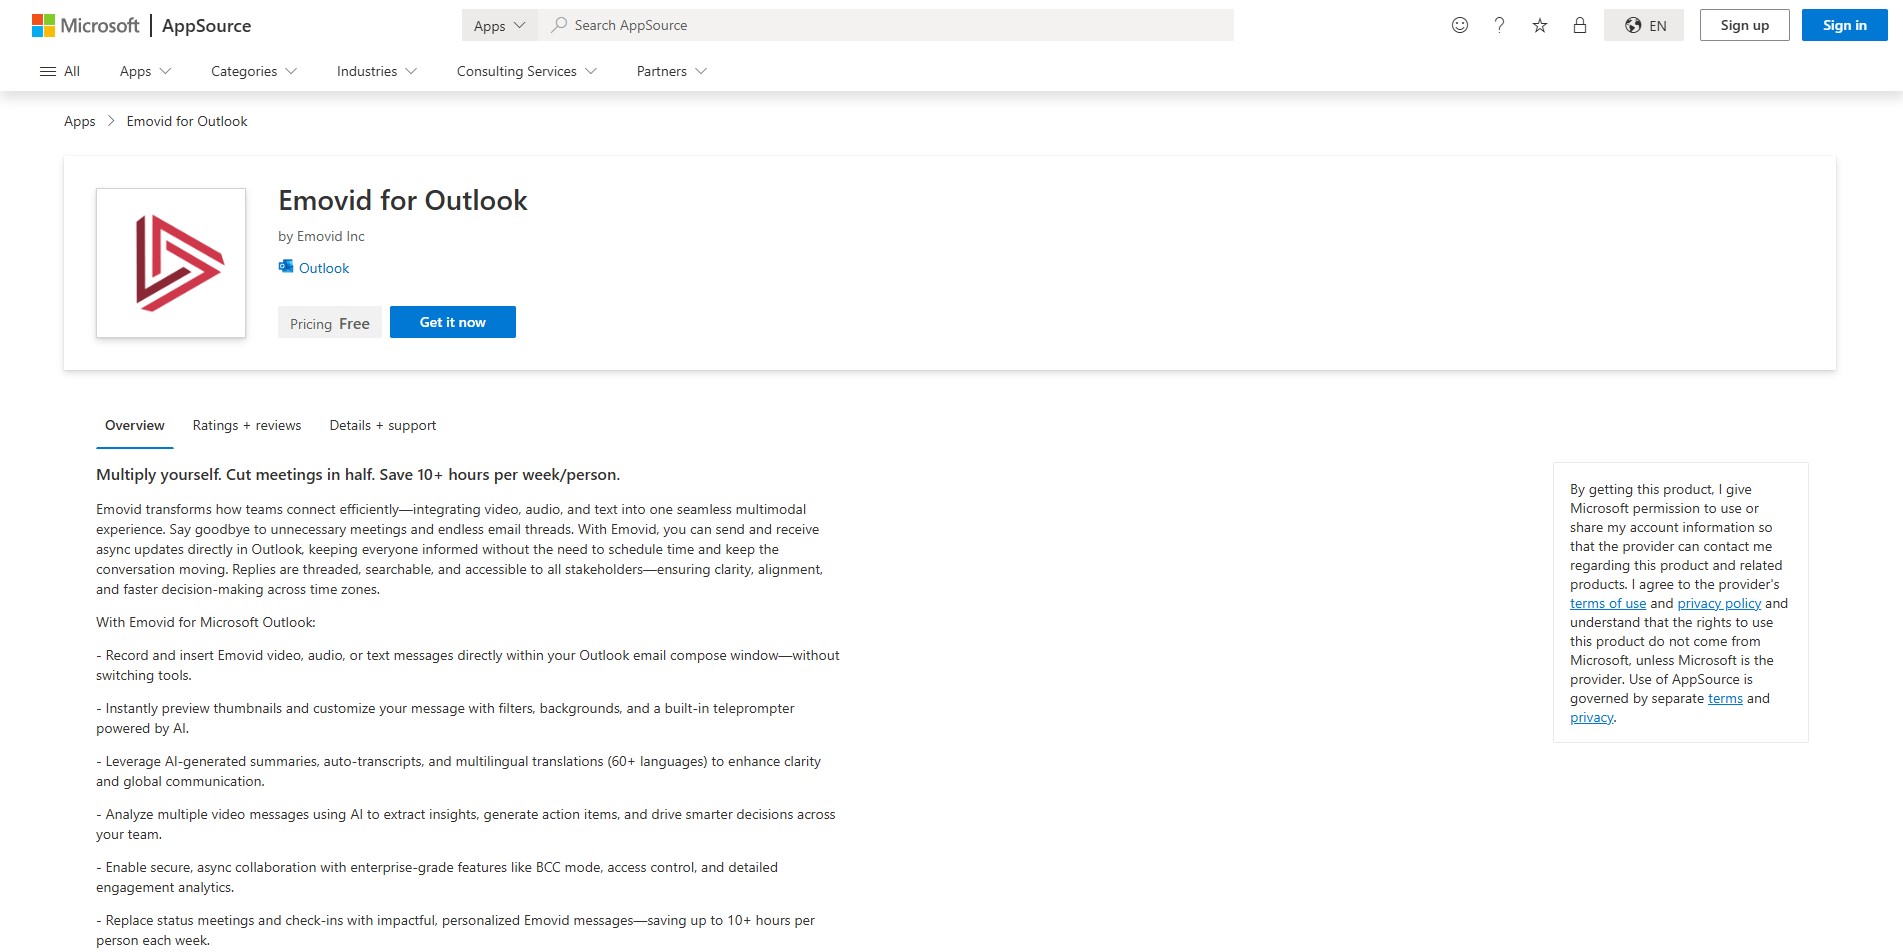
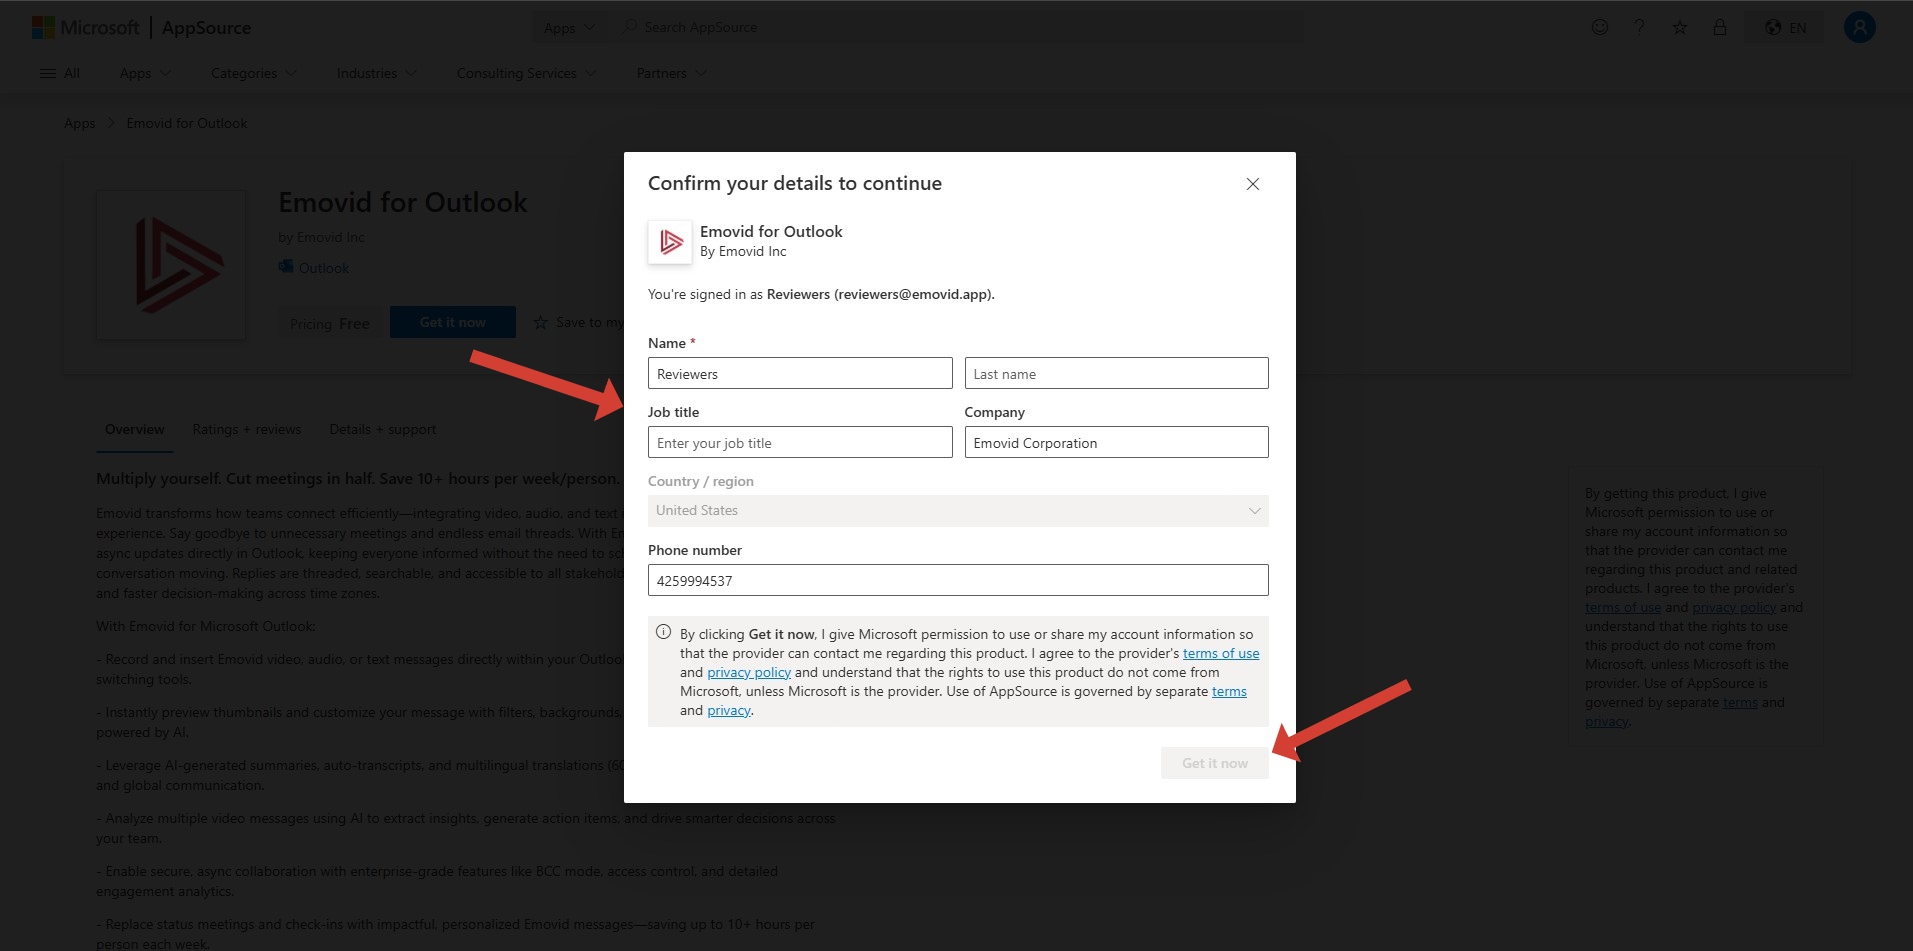
Click on “Get it now” on Emovid for Outlook add-in page on Microsoft AppSource.
Fill the required fields and click on “Get it now”
Click on “confirm” to install Emovid for Outlook.
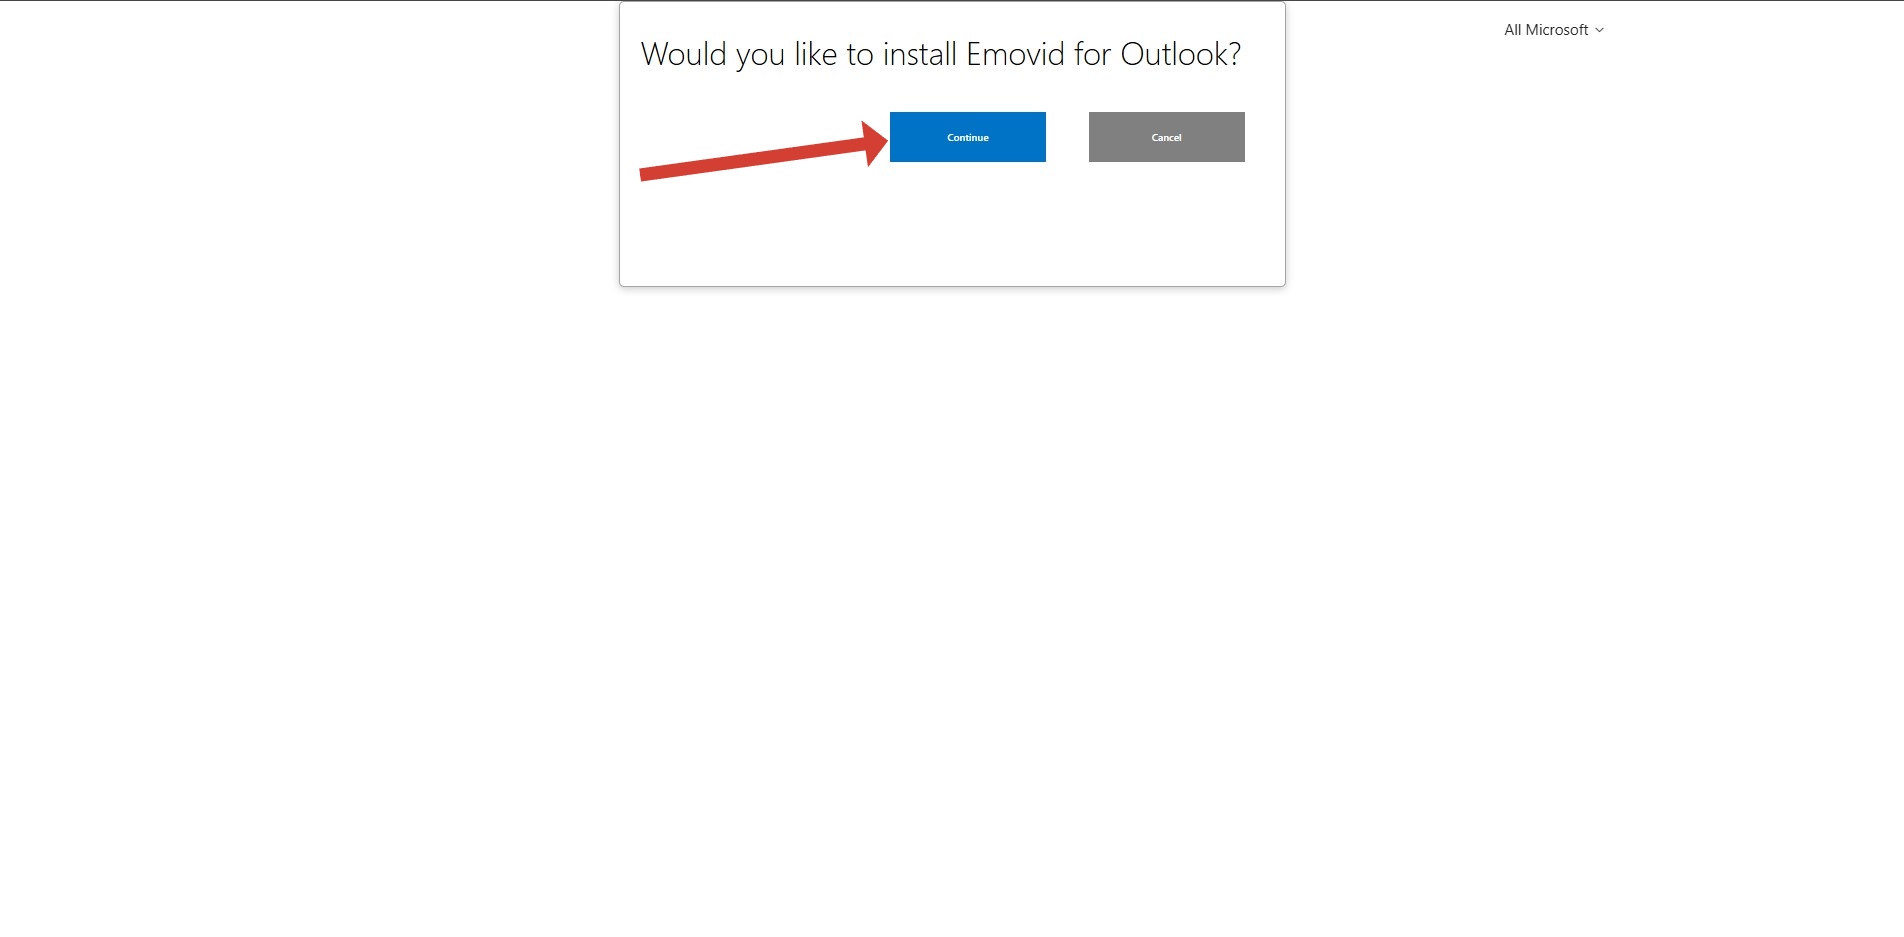
After confirming, a success message appears on the page. Click the blue “Open in Outlook Web” button to start using the add-in.

Section 2: Accessing “Emovid for Outlook” add-in
After installing the add-in on Outlook from the web, the add-in will automatically be available in all Outlook applications (desktop, or web) where the same account is logged in. If the add-in does not appear, please restart the application or refresh the page.
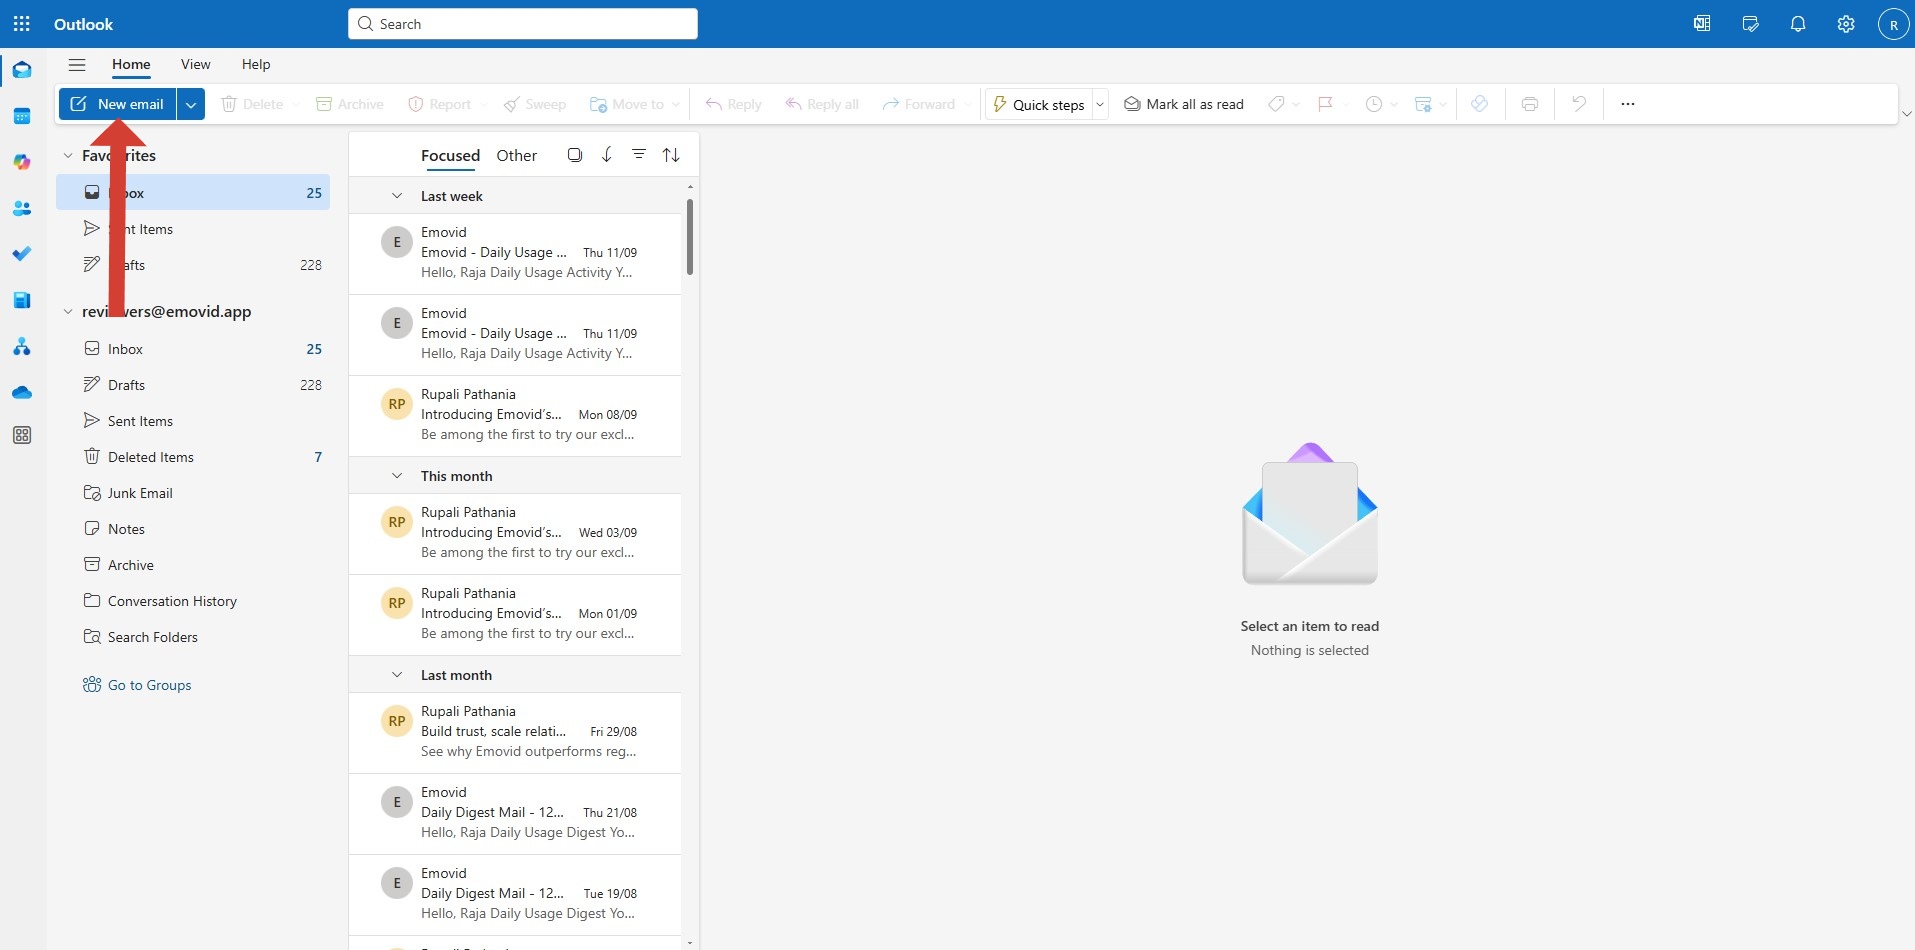
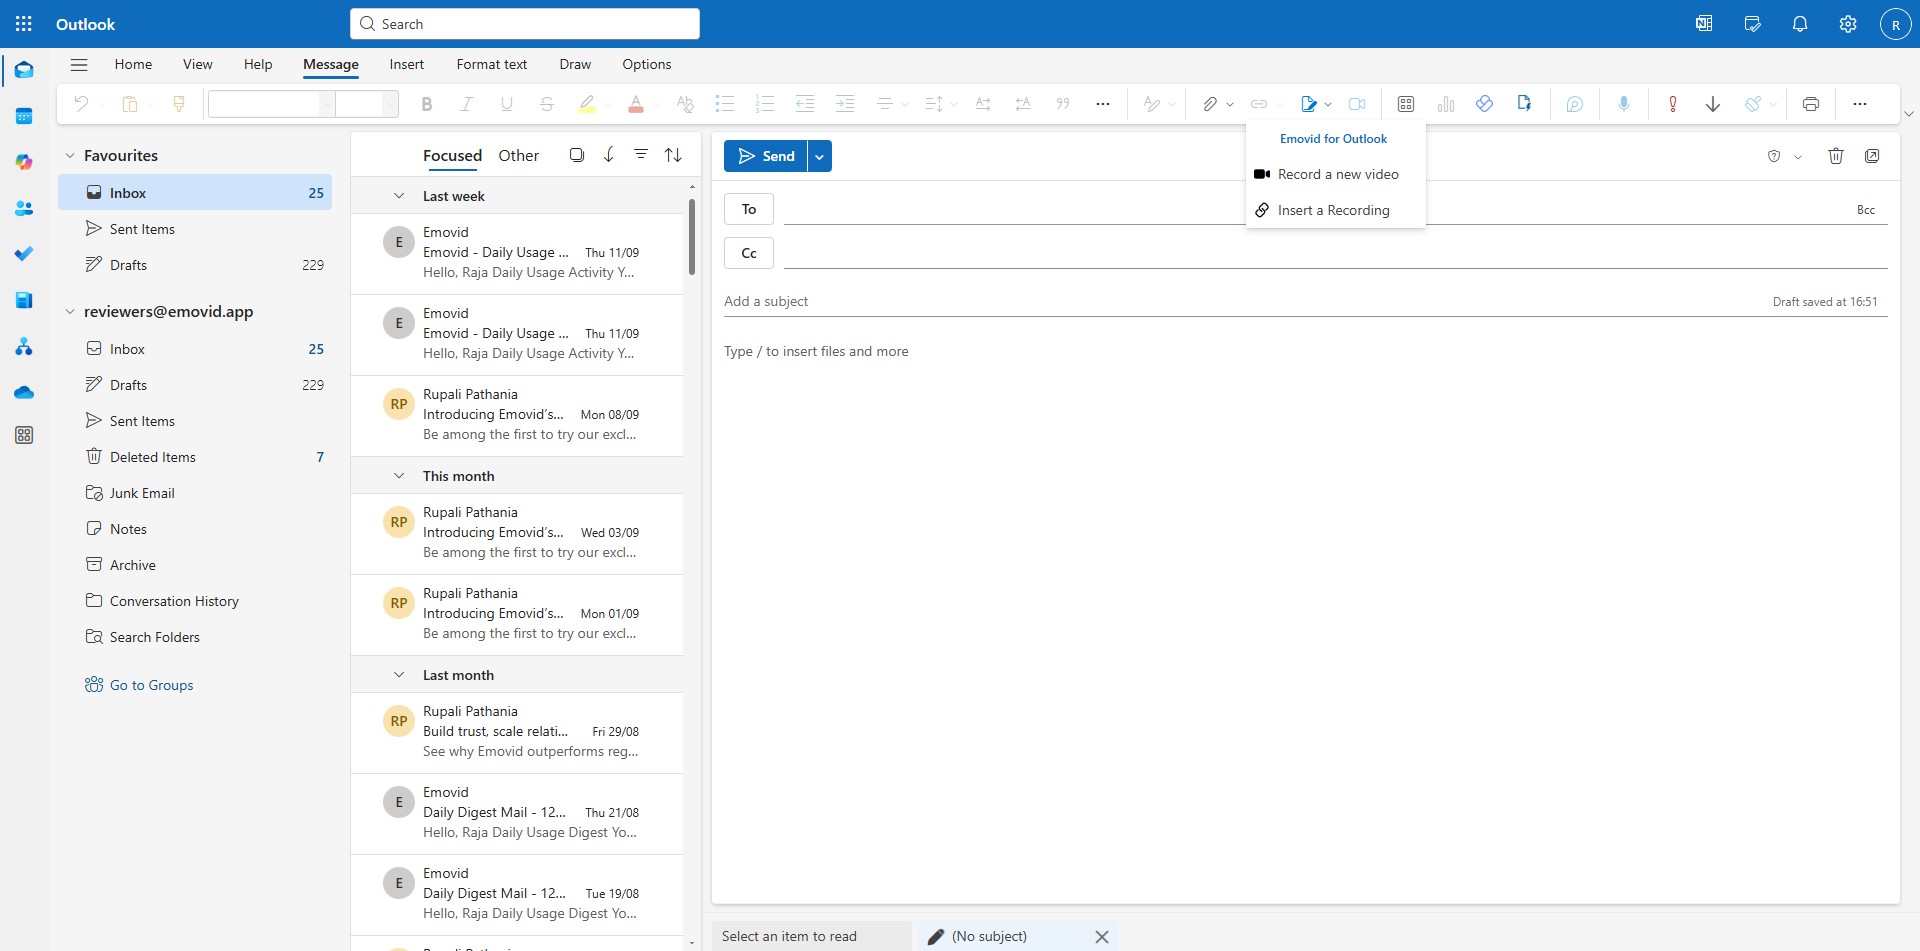
Create a new message or reply to an existing one.
From the ribbon, select the Message tab, then choose the “0utIook for Emovid” add-in.
If the “Outlook for Emovid” add-in doesn’t appear in the ribbon, select Apps to view installed add-in.
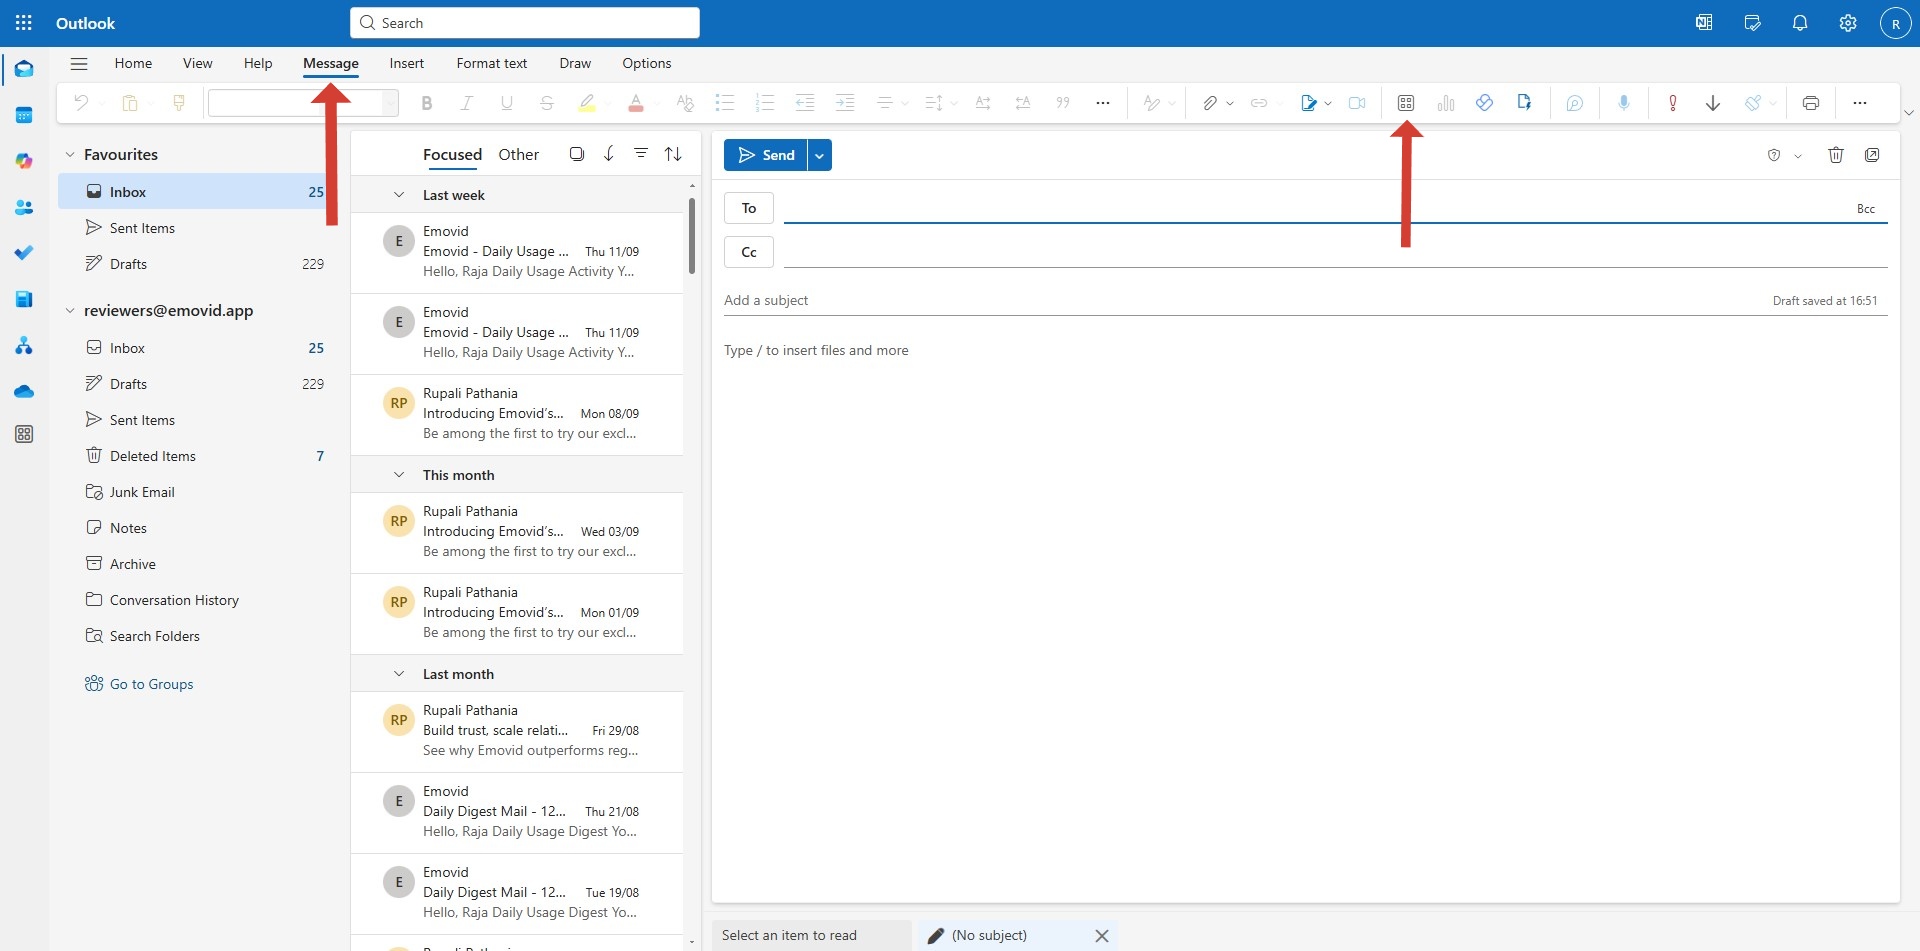
Click on “Emovid for Outlook” from the list of installed add-ins to start using it.

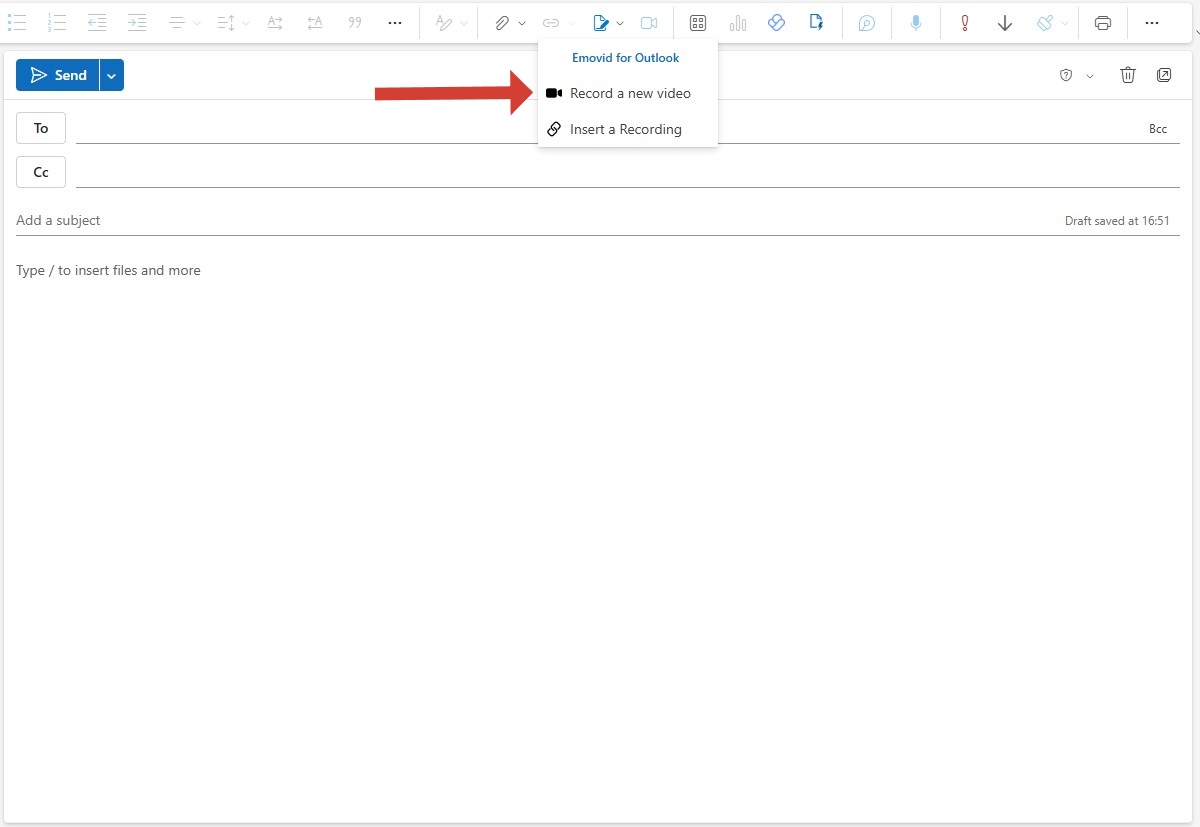
Clicking on the “Emovid for Outlook” add-in displays two options:
- Record a New Emovid — Allows you to record and embed a video directly from the add-in.
- Insert a Recording — Enables you to log in to your account, access your previously created videos, and embed them directly from the add-in.
Section 3: Demo “Emovid for Outlook” add-in
Demo: Insert a Recording
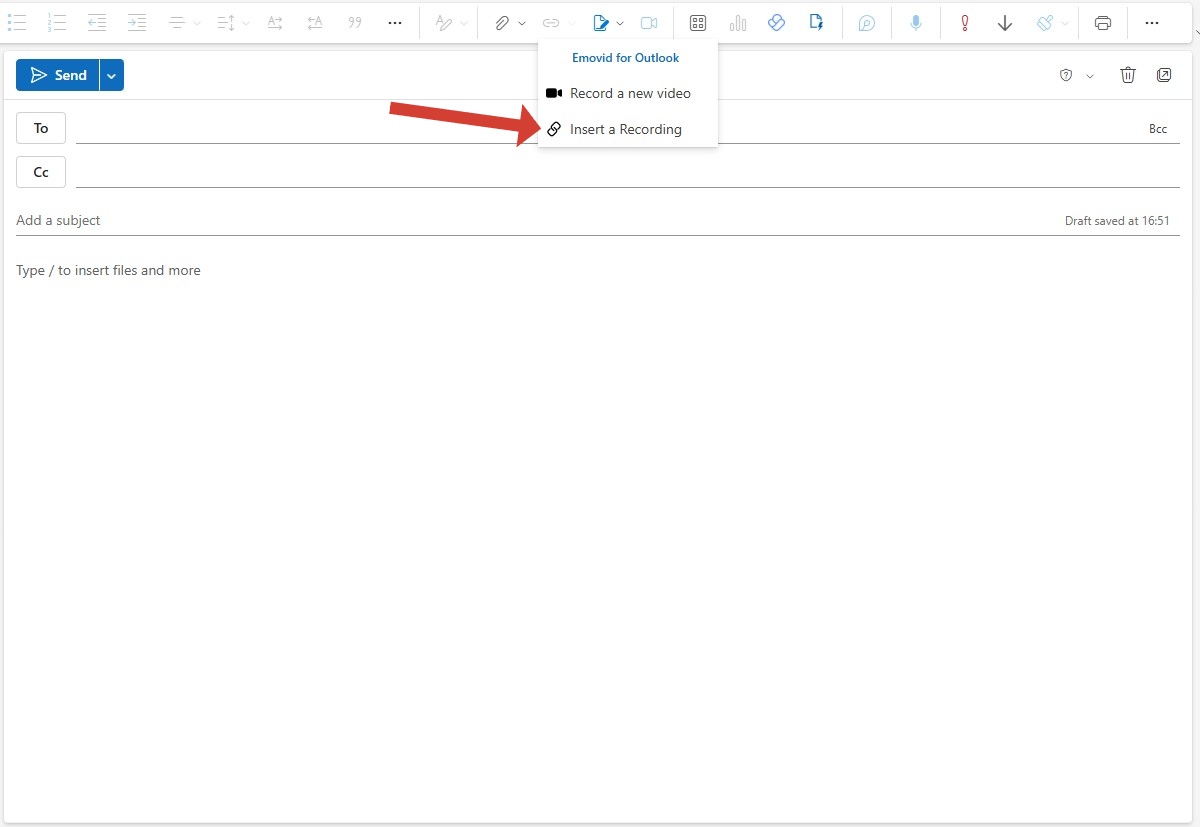
Click on the “Emovid for Outlook” add-in, and choose “Insert a Recording” from the available options.
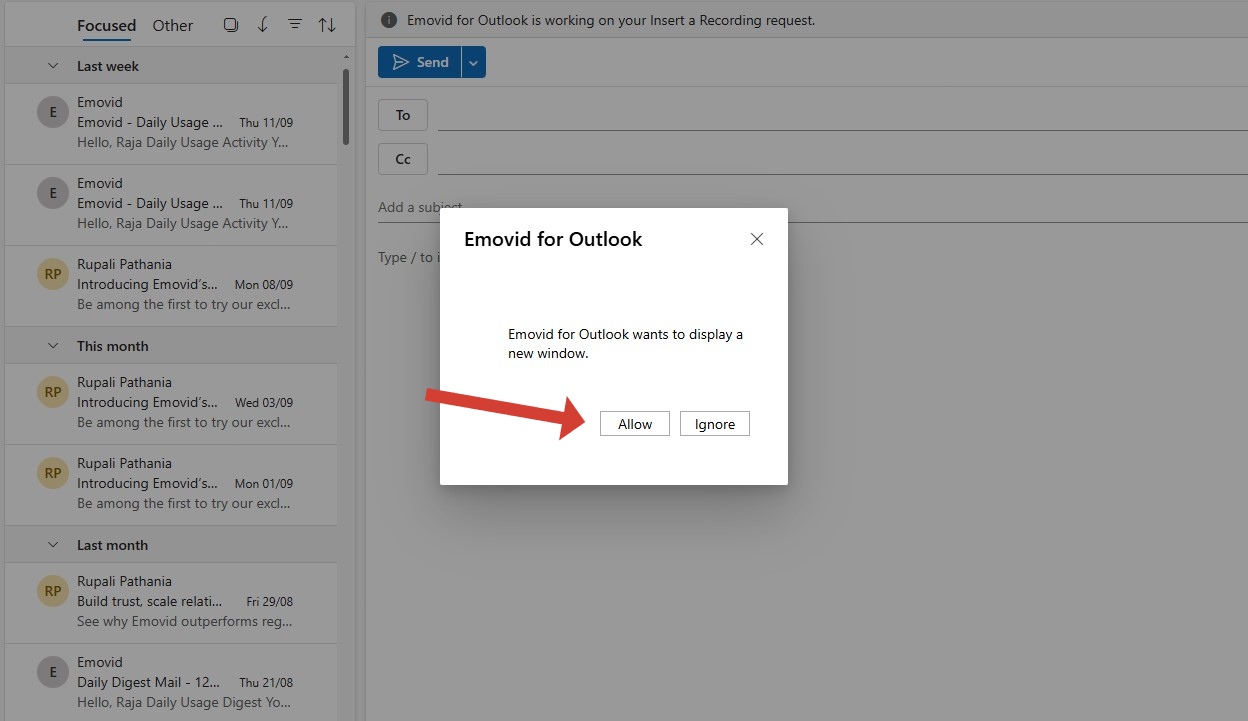
When prompted with a permission popup, click “Allow” to grant access.
Log in to the Emovid using the same account you used to sign in to Microsoft AppSource during the add-in installation.
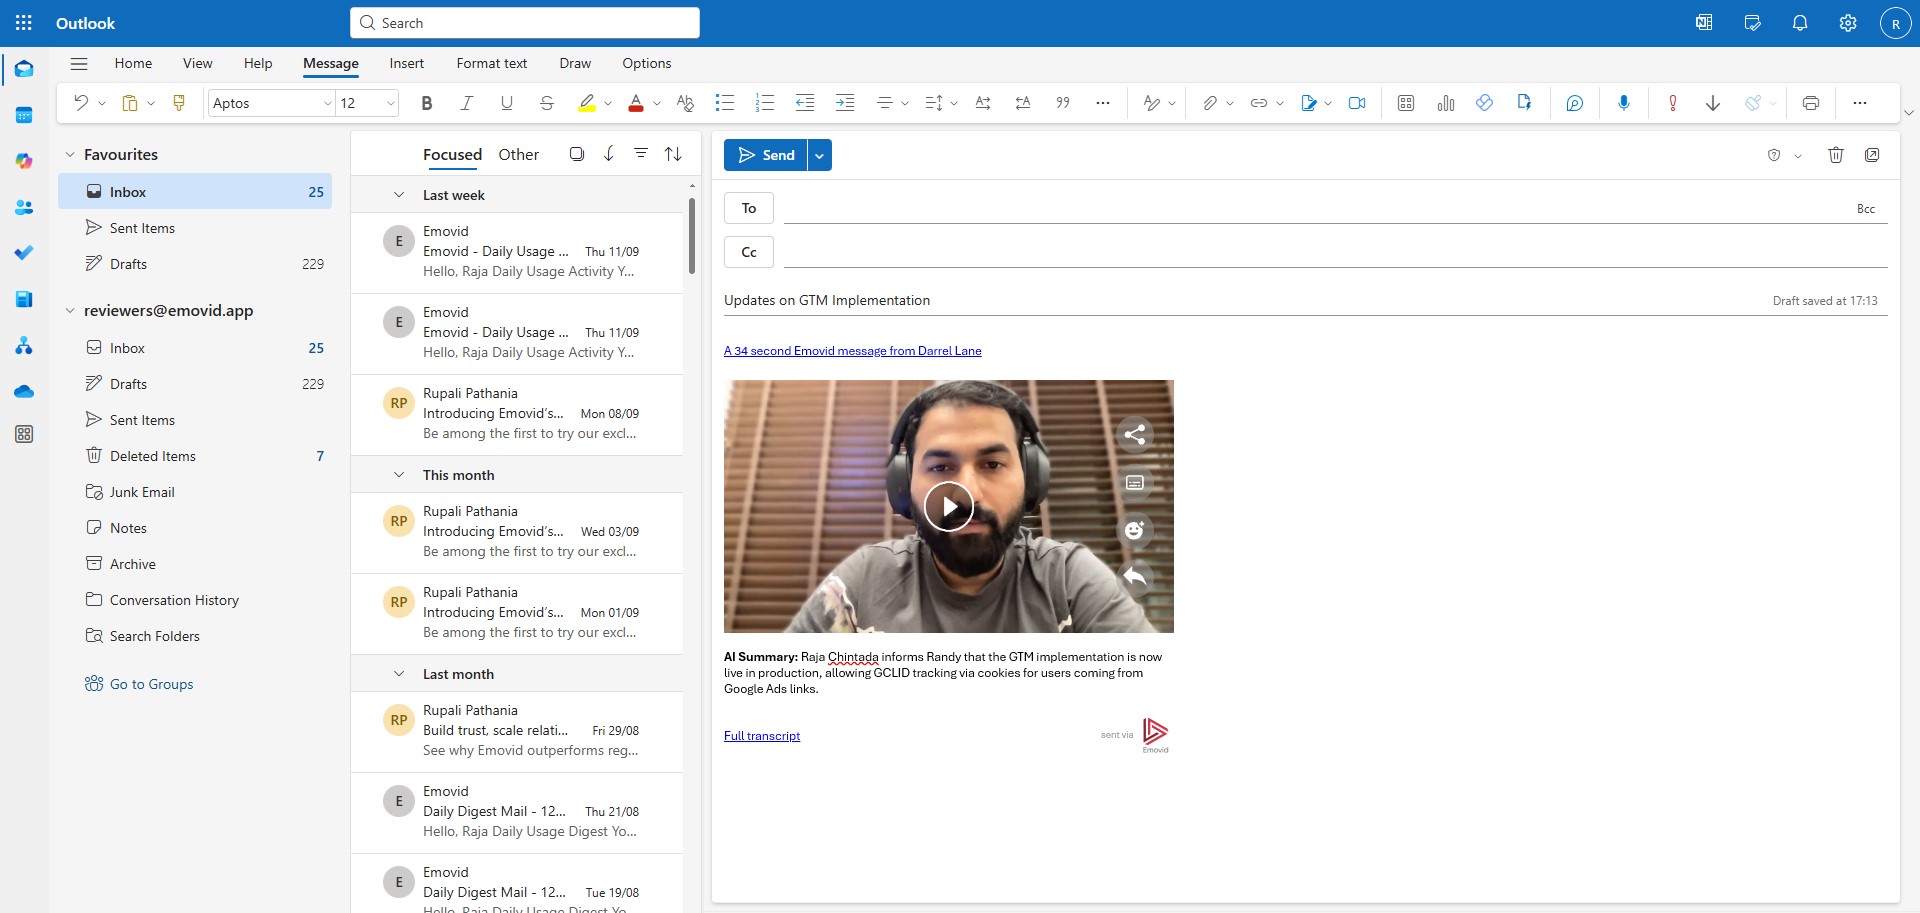
Click one of your previously recorded videos to embed in your email.
Once embedded, the video will include:
- A thumbnail preview.
- An A1-generated summary.
- A link to the full video.
- A transcript of the video.
Demo: Record a New Video
Click on the “Emovid for Outlook” add-in, and choose “Record a New Video” from the available options.
When prompted with a permission popup, click “Allow” to grant access.
Allow permission to camera and microphone when prompted for access
Record your Emovid and on step 3 of the process, click on “Embed Emovid”
Once embedded, the video will include:
- A thumbnail preview.
- An A1-generated summary.
- A link to the full video.
- A transcript of the video.